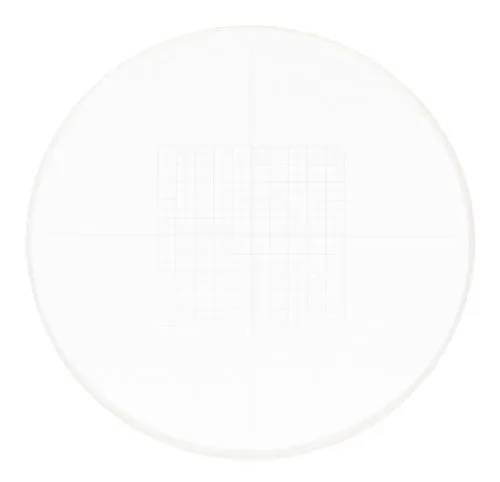
MAGUS CSS2 Calibration Slide for Stereomicroscopes (XY0.05)
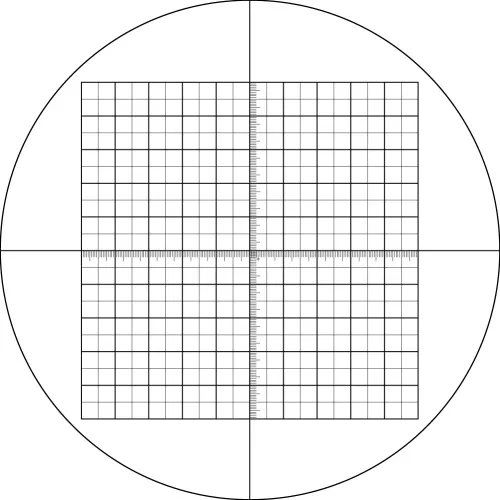
X/Y axis micrometer scales with a scale division of 0.05mm and a 10x10mm reticle
| Product ID | 82244 |
| Brand | MAGUS |
| Warranty | 2 years |
| EAN | 5905555017211 |
| Package size (LxWxH) | 4x3x1 cm |
| Shipping Weight | 0.01 kg |
Calibration slide for stereomicroscopes.
The slide has a 10x10mm reticle etched on it. In the center of the slide, there are crosshairs – two micrometer scales of 200 divisions. The scale division is 0.05mm and the length of each scale is 10mm.
The calibration slide (stage micrometer) is used to determine the magnification, linear field of view of the microscope, and the division value of the eyepiece scales and reticles.
With a digital camera, the slide is used to calibrate the image analysis software for each objective.
Calibrating the image analysis software
The calibration is performed for each objective that will be used in observations. The calibration slide is used to determine the calibration factor for the image analysis software.
Calibration procedure:
- Fix the calibration slide on the microscope stage.
- Select the desired objective and set the maximum camera resolution.
- Get a contrast image of the scale on the monitor screen and capture the image.
- Select “Calibration” mode in the image analysis software.
- Click with the mouse to define the maximum visible distance between the first and last divisions of the scale.
- Enter the resulting scale size in real units into the image analysis software.
- Enter the calibration name by specifying the current objective magnification.
- Check the result: In “Measurement” mode, measure a few divisions of the calibration slide scales in real units.
- The image analysis software will save the calibration factor under the selected name. After that, it will automatically convert the results to the selected units of measurement.
Calibration of the eyepiece scale
The calibration of the eyepiece scale is performed for each objective that will be used in observations. The slide should be placed on the stage and the microscope should be focused on the scale. The eyepiece should be rotated in the eyepiece tube until the scales of a slide and an eyepiece are aligned parallel to each other.
Calculation for each objective is carried out according to the formula:
Е=ТL/A, where
E – eyepiece division value
Т – stage division value specified on the stage micrometer (0.05mm)
L – number of stage micrometer divisions
А – number of eyepiece scale divisions.
The resulting values of the eyepiece scale division for each objective shall be recorded.
When measuring an object, first you should count the number of eyepiece scale divisions that the object covers. The result is multiplied by the scale value previously calculated for the selected objective. The resulting value will be the true linear value of the object.
| Product ID | 82244 |
| Brand | MAGUS |
| Warranty | 2 years |
| EAN | 5905555017211 |
| Package size (LxWxH) | 4x3x1 cm |
| Shipping Weight | 0.01 kg |
| Material | optical glass |
| Scale length, mm | 10 |
| Number of scale divisions | 200 |
| Scale value, mm | 0.05 |
| Reticle size, mm | 10х10 |
| Number of reticle cells in a row | 20 |
| Reticle cell size, mm | 0.5х0.5 |
| Calibration slide size, mm | 24 |


