BG
BG  CZ
CZ  ES
ES  HU
HU  IT
IT  PL
PL  TR
TR Review: Levenhuk Strike 1000 PRO Telescope
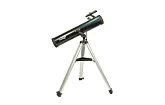
Levenhuk constantly works on developing new telescope lines in order to meet the needs and desires of its customers. The new series, Levenhuk Strike PRO, is the logical continuation of the previous telescope series, Levenhuk Strike PLUS. This new series is distinguished by its extended set of astronomy accessories, which comes with each model. The kit includes everything an amateur astronomer can desire. Ordering one of Levenhuk Strike PRO telescopes, you will get everything needed for observations in just one box. The senior model, Levenhuk Strike 1000 PRO, is a powerful Maksutov-Cassegrain telescope with 102-mm objective lens diameter and 1300-mm focal length.
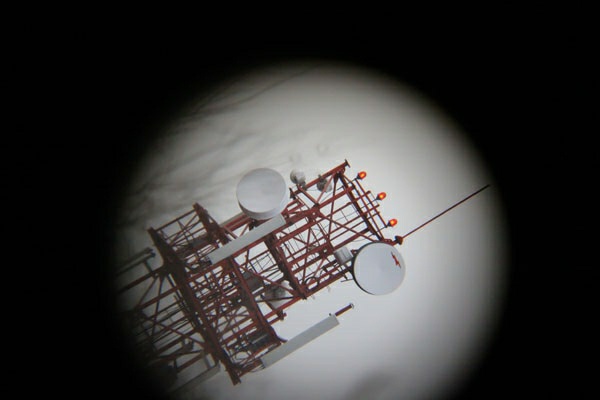
The package size is 19.3x9.1x34.3 inches; it’s quite compact and easy to be transported by hand. The telescope is very lightweight and compact, it has beautiful design, and, most importantly, it creates high quality images of observed objects. The test results can be found in the relevant section of this review. Levenhuk Strike 1000 PRO Telescope is great for planetary, as well as deep-sky, observations. It can also be used as a powerful spotting scope for terrestrial observing. The objective collects a large amount of light (23% more than a 90-mm aperture telescope) and allows for observations of faint stars up to 12 stellar magnitude. With this telescope you will be able to observe distant nebula, galaxies, star clusters and other beautiful objects. 1300-mm focal length allows observations at high magnifications needed for detailed views of the Moon and planets’ surfaces, as well as for observing some deep-sky objects. Thanks to its relatively small dimensions, you can take this telescope to the countryside, where you can fully take advantage of all its capabilities. You can also take it with you on vacation.
Levenhuk Strike PRO telescopes include not only standard accessories (such as eyepieces, compass, and Stellarium software), but also additional accessories for even more interesting and comfortable observations: A 6.3mm Plossl eyepiece, 2x Barlow lens, set of optical filters, solar and lunar filters, and Levenhuk Zongo 60 Telescope Case for storage and transportation. Let's take a closer look at the most complete set of telescope accessories!
What’s in the box:
- Levenhuk Strike PRO telescope on a German equatorial mount
- Aluminum tripod
- Eyepieces: SUPER 10 mm, SUPER 25 mm
- An additional Plossl 6.3 mm eyepiece
- 2x Barlow lens
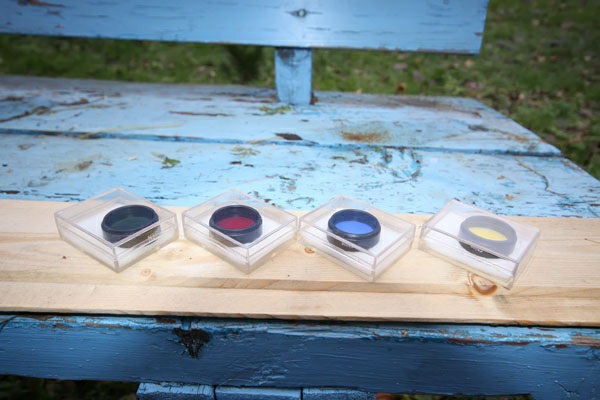
- Set of filters
- Lunar filter
- Solar filter
- Red Dot finder scope
- Diagonal mirror
- "See it all!" Astronomer's Handbook with descriptions of 280 celestial objects
- Space Posters Set (Moon, Sun and Other Stars, Solar System)
- Planisphere
- Stellarium software CD to assist you during your astronomical observations
- Compass
- Levenhuk Zongo 60 Telescope Case
- User manual and lifetime warranty
Congratulations on buying this telescope model!
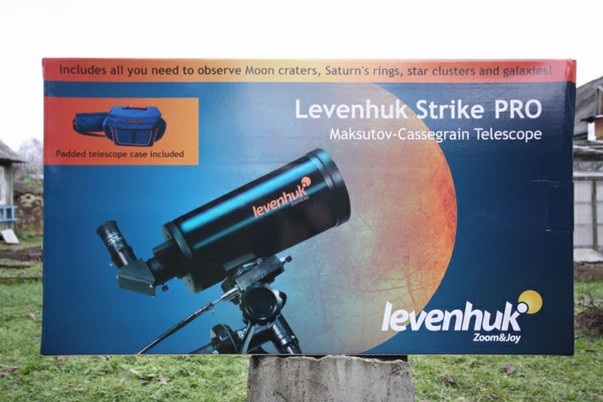
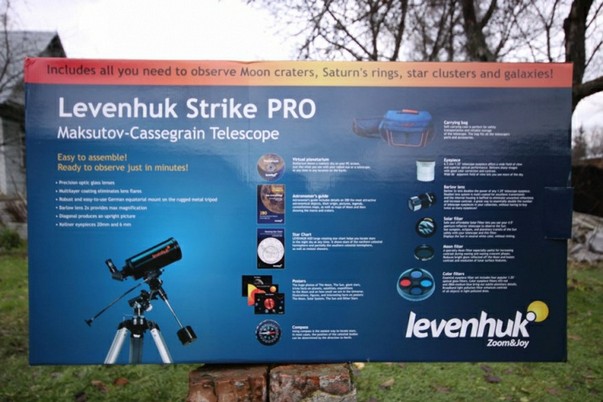
The telescope comes in attractive packaging, and you can find a list of all included accessories on the back of the box.
Introduction
Let’s open the box and take all the components out.

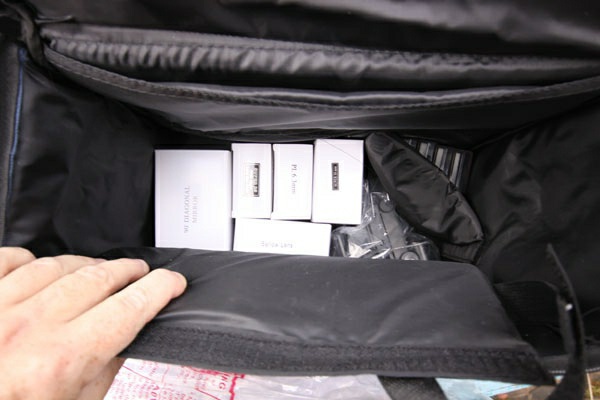
Every detail is thought through, including the optics fasteners inside the case.

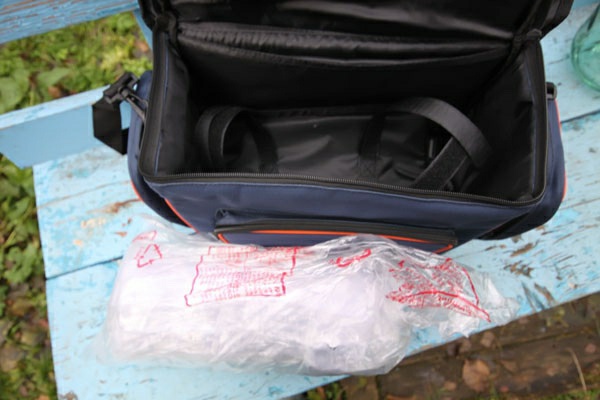
There’s a bunch of accessories inside the case – that’s when my soul starts to sing!
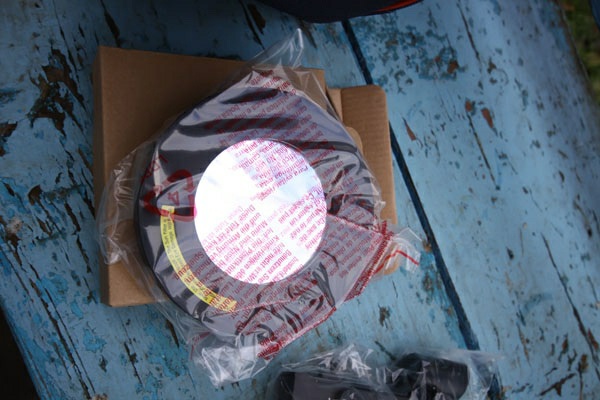
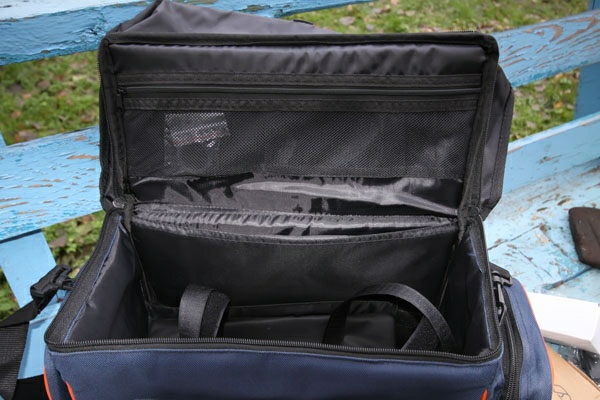
You will find a solar filter inside the right pocket.

Lunar filter is in the mesh compartment inside the case. Let’s start assembling!
Installing a mounting bracket in order to attach the mount.

Fixing it with two screws.

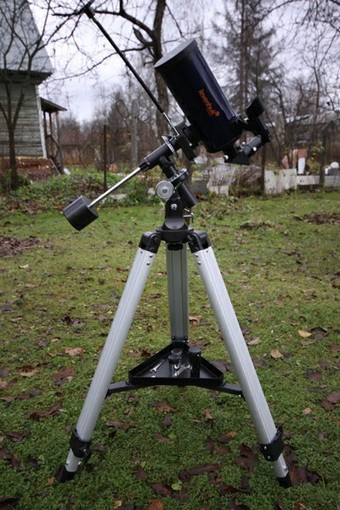
Everything is ready for observations!
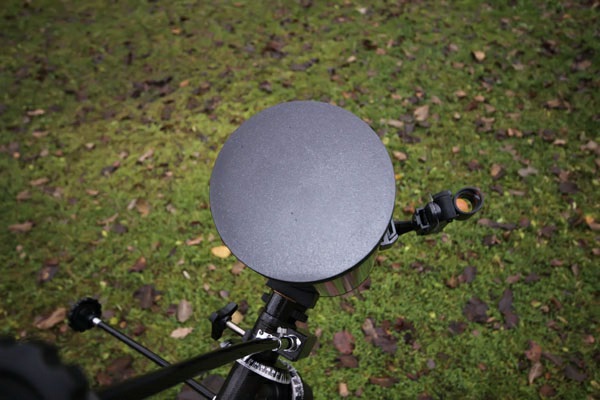
The objective lens should always be covered by a cap before and after your observations.
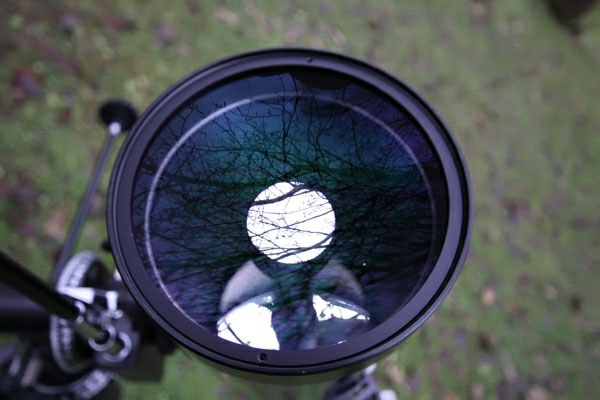
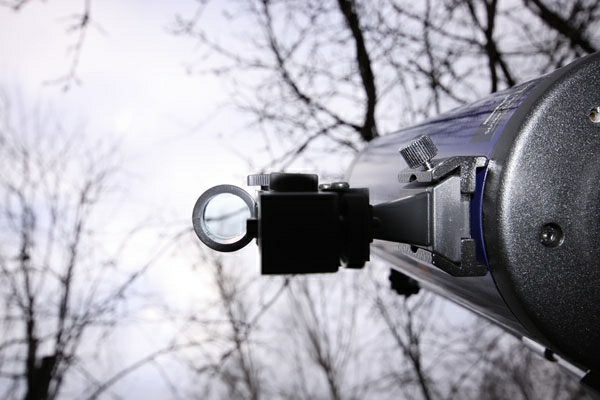
The cap is off, and it’s the first light for this telescope. Let’s take a look at meniscus – the telescope’s front lens.

The blue-green coating of the optics attracts our attention and urges us to look at the optical elements more closely.
The interior of the tube is blackened; the optical elements are equipped with baffles that block any light. The exterior is painted with blue metallic.


The eyepiece is attached to the back of the telescope tube. Here you can also see the focuser – a long knob that moves the primary mirror along the optical axis adjusting image sharpness.

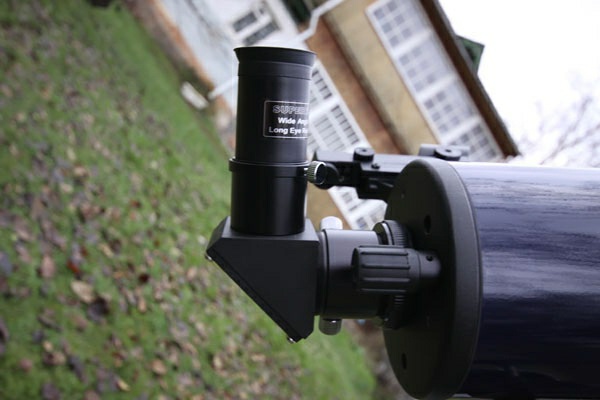
Let’s look into the eyepiece node: you can clearly see screening by the secondary mirror. Look at the coated spot on the back of the meniscus–it reflects the rays from the primary mirror and passes them further into the eyepiece.

Two screws firmly fix the eyepiece in the diagonal mirror, which turns the light beam 90 degrees. Thanks to this, we can comfortably observe celestial objects located high up in the sky in the near-zenith region.

When assembling the telescope, fix the diagonal mirror with the screws.

On the back side of the optical tube you will see six screws: three of them are locking screws, and the other three are adjustment screws. The telescope has been fully tested and adjusted at the factory; therefore you should not touch these screws without special knowledge and a strong need.

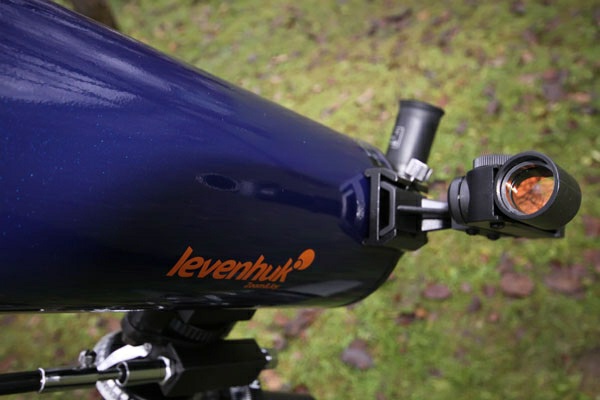
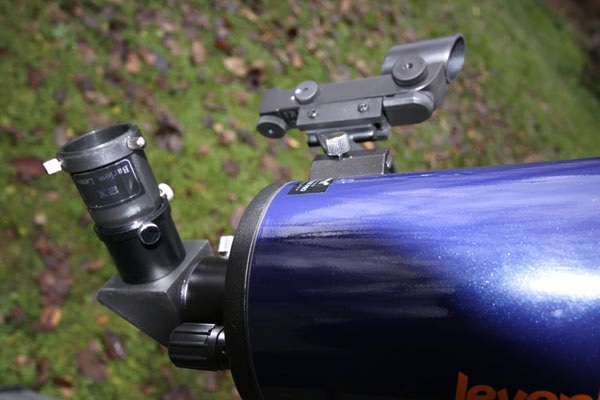
Install the Red Dot finderscope on the tube and turn it on.

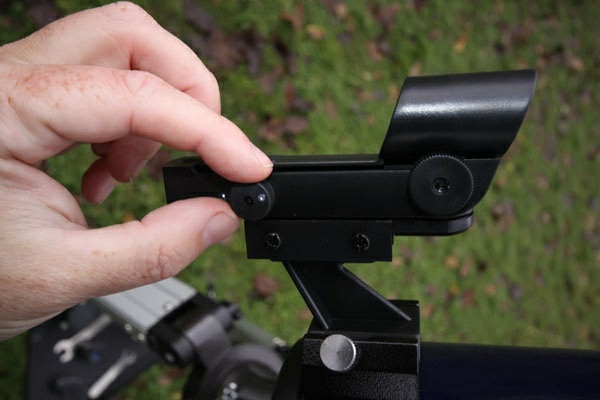
Insert a low-power eyepiece into the focuser, then locate an object (about 500 meters away from you), and aim the telescope at it. Using the two screws on the side, center the finderscope. Use the Red Dot finder to locate the objects, and then, looking through the eyepiece, make adjustments using the slow-motion controls.
The optics are multi-coated, so you won’t have any trouble locating objects.
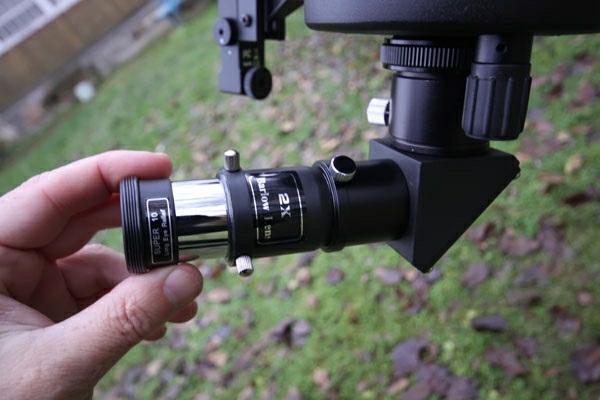
Do not forget about the Barlow lens, which comes in the kit. Use different Barlow lens and eyepiece combinations to find the best option for particular celestial objects. With this Barlow lens you can halve the number of needed accessories.
The optical tube is mounted on the EQ2 German Equatorial mount.

For automatic tracking of the sky, you will need a motor drive on the RA axis (which you can buy separately).

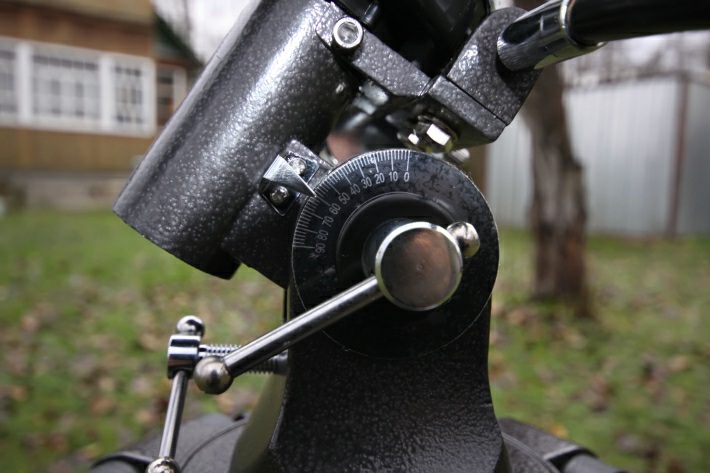
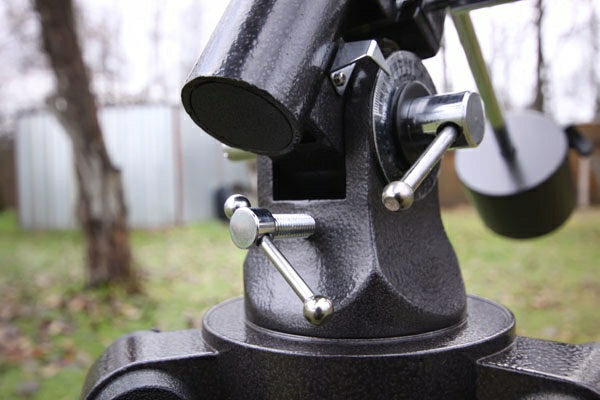
The mount is very easy to use; it has coordinate circles on both axes. It allows for simpler navigation on desired celestial objects by their coordinates, using a pointer, axes lock knobs, and slow-motion controls.


Before you start observations, set the hour angle of Polaris (i.e., the latitude area from where you observe).
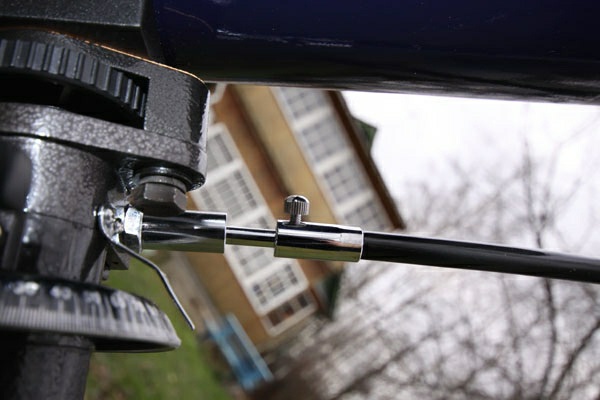
If you have purchased an electric clock drive, set it on a long shaft of the mount and fix it with gear wheels.

The RA axis movements involve worm gear mechanisms. A few drops of oil will contribute to smoother running.
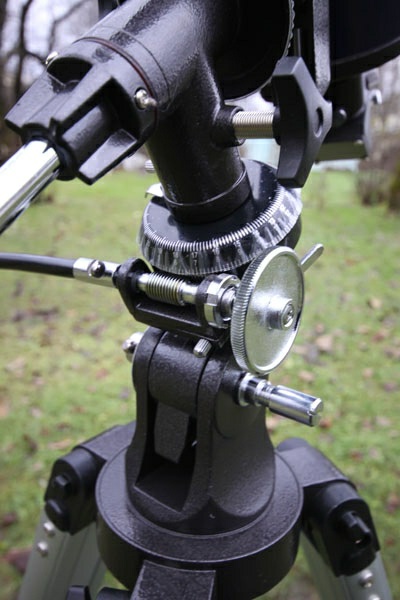
It’s best to apply a small amount of lubricant on every thread of the mount.

All adjustment bolts and knobs move smoothly and are very convenient to use.
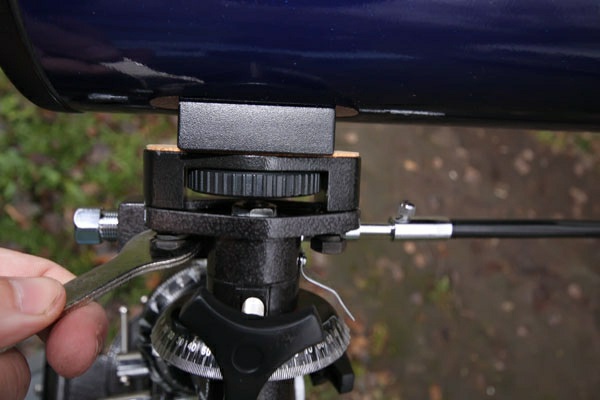
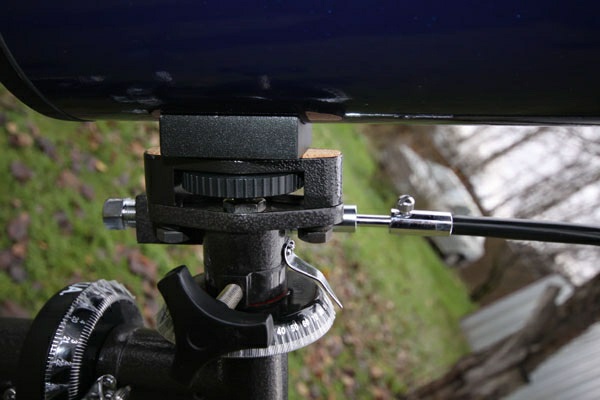
The following image shows the part of the mount where the slow-motion controls and counterweight rod are being attached.
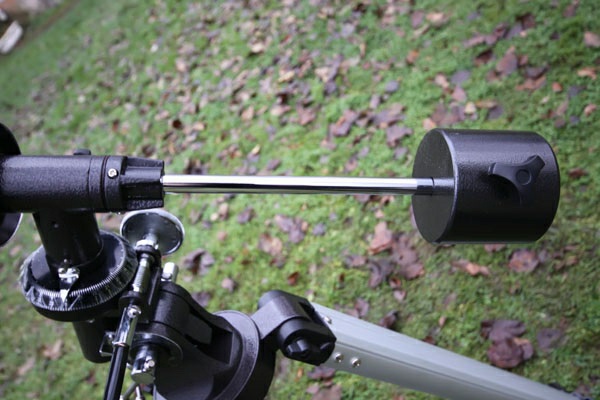
Properly balance the telescope! The tube shouldn’t start moving when loosening the screws.
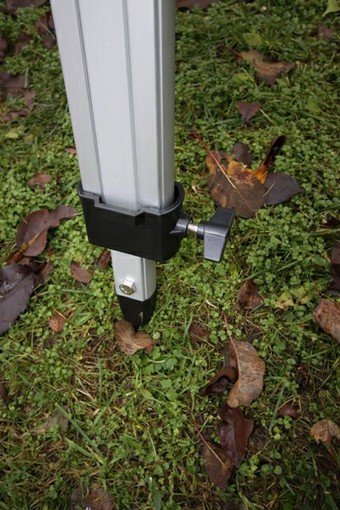
When assembling the telescope, make sure to firmly tighten the screw that secures the mount-to-tripod connection.

The accessory tray ensures the stable position of the tripod.

Adjust the tripod’s height for more convenience and you are ready to start your observations!
If you are going to observe the Sun, use the special solar filter included in the kit (make sure it sits tight on the objective lens); otherwise the sun’s radiation will harm your eyesight.

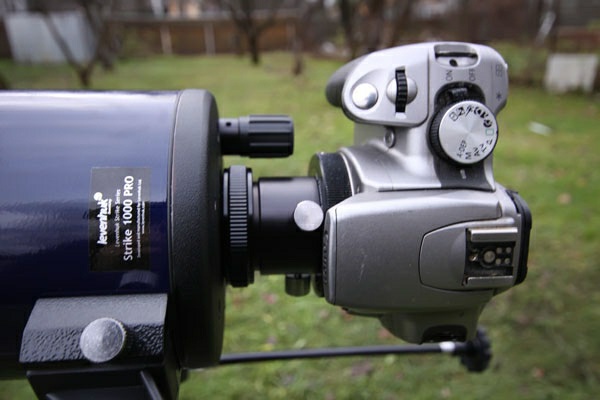
You can make images of the Sun or Moon using a special camera for astrophotography or just a regular SLR camera with a T-ring adapter (Canon EOS, Nikon, Sony, Minolta, or Pentax).

| Specifications | |||
| Optical design | Maksutov-Cassegrain | ||
| Optics coating | fully multi-coated | ||
| Objective lens diameter (aperture), mm | 102 | ||
| Focal length, mm | 1300 | ||
| Highest practical power, x | 200 | ||
| Focal ratio | f/12.8 | ||
| Resolution threshold, arcseconds | 1.3 | ||
| Limiting stellar magnitude | 12.0 | ||
| Eyepieces |
SUPER 10 mm, SUPER 25 mm, Plossl 6.3 mm |
||
| Eyepiece barrel diameter | 1.25" | ||
| Barlow lens | 2x | ||
| Finderscope | Red Dot | ||
| Focuser | 1.25" | ||
| Tripod | aluminum | ||
| Tripod height (adjustable), in | 28-49.2 | ||
| Mount | German equatorial EQ2 | ||
| Usage |
General use product. May be used by kids over 3 years old. |
||
| Weight, lbs | 26.5 | ||
Levenhuk Strike 1000 PRO Test

For this test we used the Roddier method, based on the change in light intensity between inside and outside focus star shots.
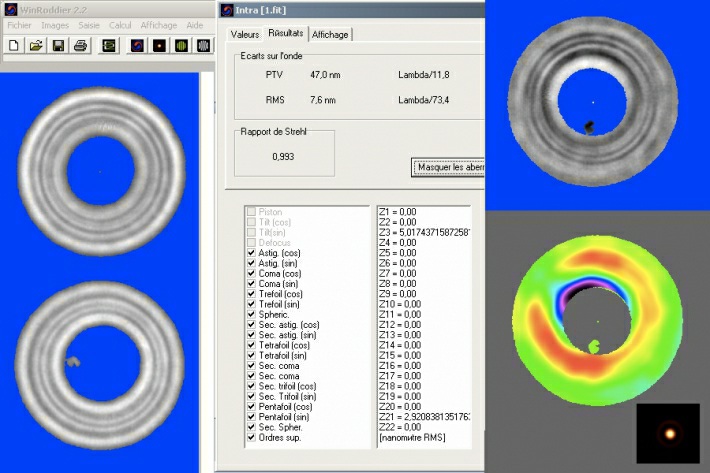
The test results show that this telescope provides an excellent image quality. Our score is five out of five! Recommended for purchase!
Tips for beginners
If you have a camera, you can make wonderful photos of bright celestial objects, such as the Moon or planets. You can also use this telescope for shooting deep-sky objects, but that doesn’t make a lot of sense because of its low light-gathering power. The images below were made with Levenhuk Strike 1000 PRO telescope and QHY-5 camera in prime focus.
The Moon

Jupiter

Visual observations
If a telescope is taken from a warm house out into a cold night, give it some time (approximately an hour) to cool down. You should plan your observing sessions in advance by making a list of objects you want to observe. "See it all!" Astronomer's Handbook, which is included in the kit, will be very helpful for this purpose. Remember that this telescope won’t allow you to see binary stars with angular separation less than 1.3". The eyepiece and Barlow lens are great, but you will probably want to expand your accessory kit as you gain experience. We recommend buying high-power eyepieces, as well as low-power ones, to observe close binary pairs, planetary disks, and extended objects, as well as search and wide-angle eyepieces.
Summary
Levenhuk Strike 1000 PRO is highly appreciated by experienced astronomers. The lightweight optical tube is installed on the EQ-2 German Equatorial mount equipped with slow-motion controls. The equatorial mount requires pre-setting, but when it comes to object tracking, this mount type is much more convenient than an alt-azimuth one. The EQ-2 mount is equipped with coordinate setting circles for quick and easy navigation. The mount allows you to follow the daily motion of the object by using only one control or in automatic mode with the help of an electric clock drive. The tripod is stable, its height is adjustable; it also has a spacious accessory tray, giving the tripod additional rigidity.
Superb optical quality allows you to achieve impressive results during visual observations and astrophotography. 102-mm objective lens collects enough light to produce bright images of observed celestial objects, and its multi-coated optics allow for maximum light transmission and make images sharp and clear. Included eyepieces are made with the utmost care and precision. As you’ve seen, you can obtain quality images of the Moon and planets. The focuser has a standard T-thread, which means you can install almost any kind of SLR camera on the telescope (using an additionally purchased T-ring).
The telescope comes with a rich set of additional accessories that includes everything a novice observer and astrophotographer might need.
Any reproduction of the material for public publication in any information medium and in any format is prohibited. You can refer to this article with active link to levenhukb2b.com.
The manufacturer reserves the right to make changes to the pricing, product range and specifications or discontinue products without prior notice.