BG
BG  CZ
CZ  ES
ES  HU
HU  IT
IT  PL
PL  TR
TR Levenhuk Strike 900 PRO Telescope Review
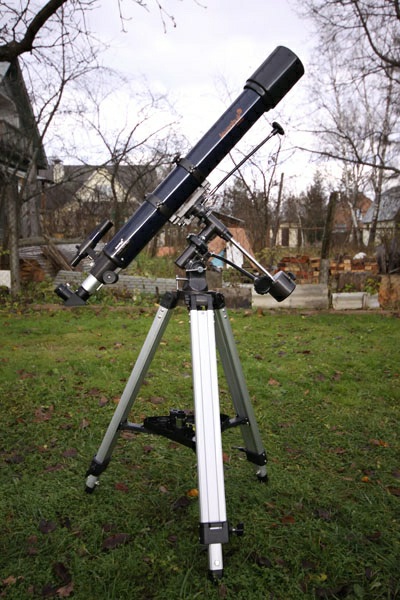
Levenhuk Strike 900 PRO Telescope is a classical doublet achromat, a junior model in the Levenhuk Strike PRO series that features a 90-mm objective lens diameter and 900-mm focal length. Levenhuk Strike PRO telescopes come with a rich accessory kit that makes observations even more comfortable and exciting! The kit includes standard accessories of the Levenhuk Strike series (printed materials, eyepieces, compass, and planetarium software) plus new, useful supplements: high-quality Plossl eyepiece; Barlow lens; optical, solar, and lunar filters; as well as a large Levenhuk Zongo 80 case for storage and transportation of the telescope optical tube together with the mount and tripod. Not every telescope can boast such a rich set of useful additional accessories as supplied with Levenhuk Strike 900 PRO!
The kit includes:
- Levenhuk Strike 900 PRO optical tube
- German equatorial mount
- Aluminum tripod
- SUPER 10mm and SUPER 25mm eyepieces
- Additional Plössl 6.3 mm eyepiece
- 2x Barlow lens
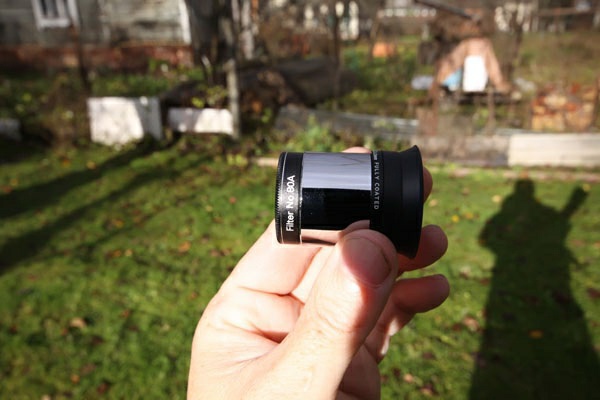
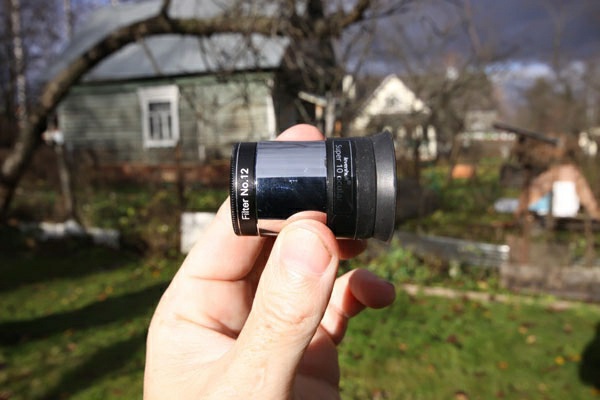
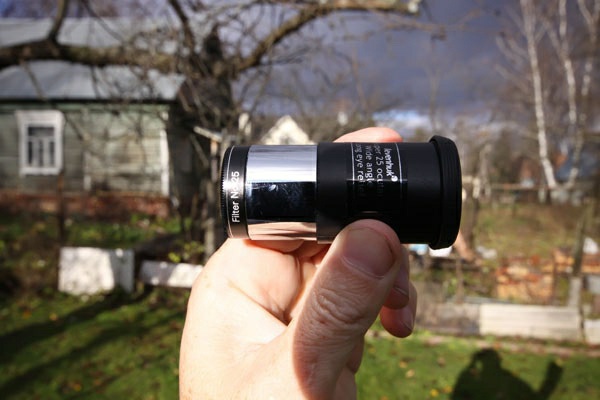
- Set of color filters
- Lunar filter
- Solar filter
- 6x30 optical finder scope
- "See it all!" Astronomer's Handbook with descriptions of 280 celestial objects
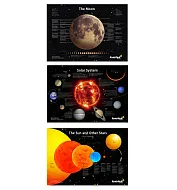
- Space Posters Set (Moon, Sun and Other Stars, Solar System)
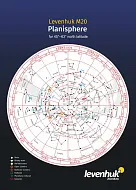
- Planisphere
- Stellarium software CD
- Compass
- Levenhuk Zongo 80 Telescope Case
- User manual and lifetime warranty
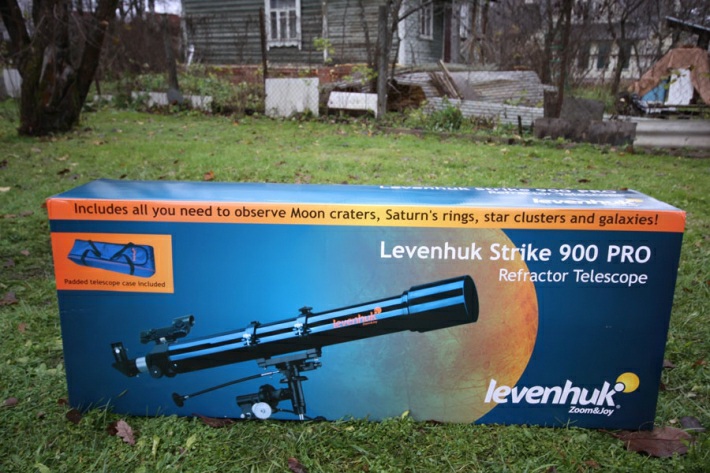
The colorful box pleases the eye; its back side has a list of accessories included in the package (listed above).
Introduction
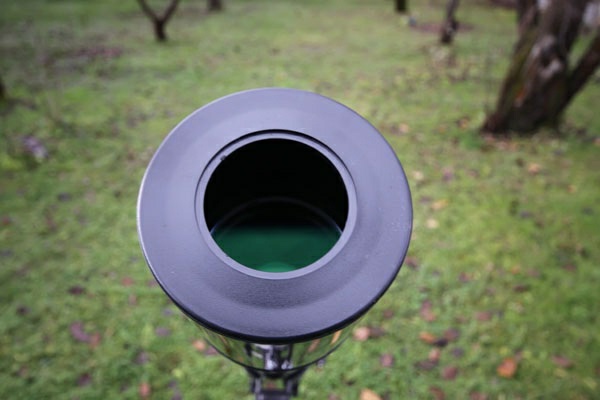
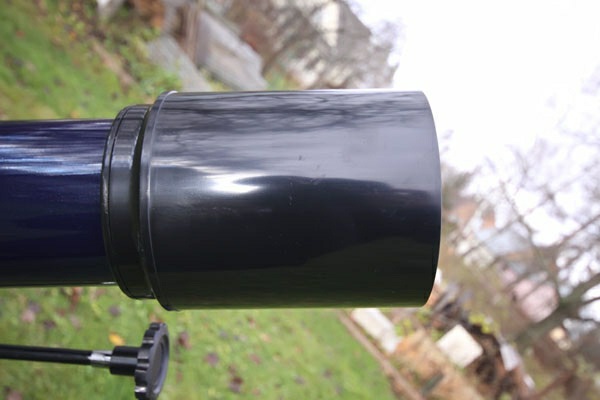
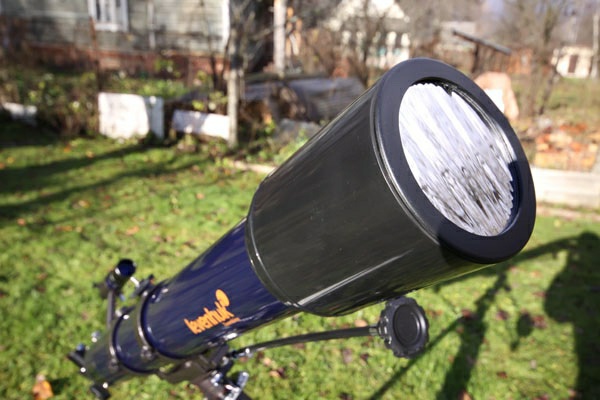
The objective lens is protected by a plastic cap with an opening for installing an aperture solar filter.
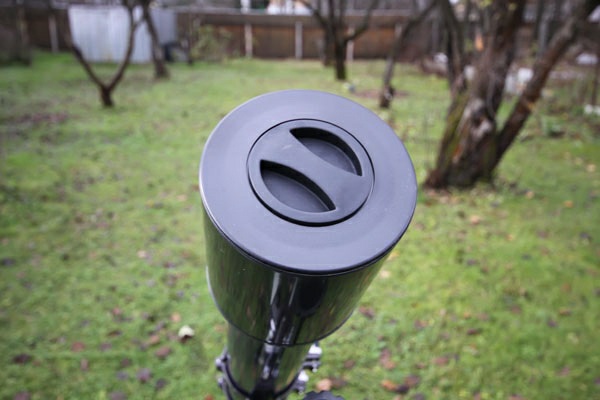
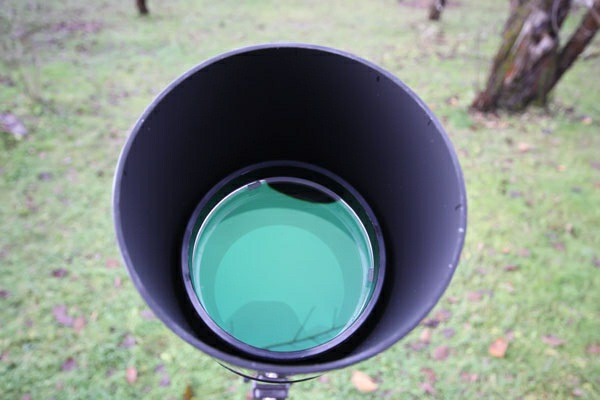
The removable plastic lens hood protects the optics from dew and eliminates flare caused by stray light.
Take the telescope outside, remove the protective cap, and leave the telescope there for half an hour (for thermal stabilization). Don’t miss this important step! You’ll see the benefits once you observe with a high-power eyepiece – if the atmosphere is calm, the telescope will produce clear images with no jitter.
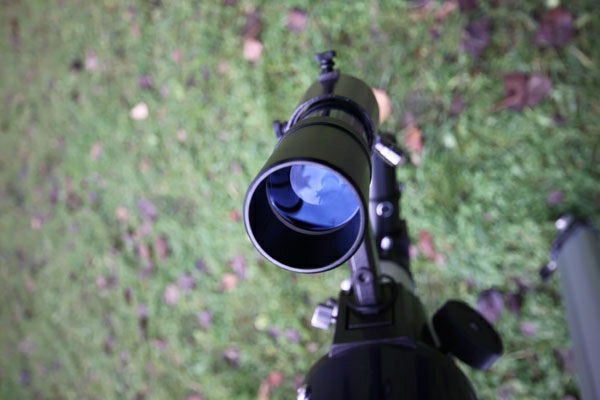
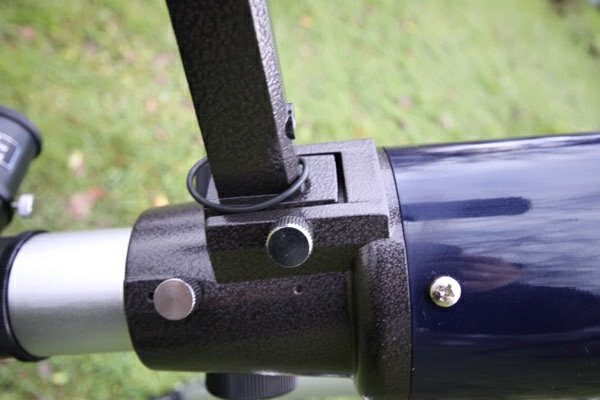
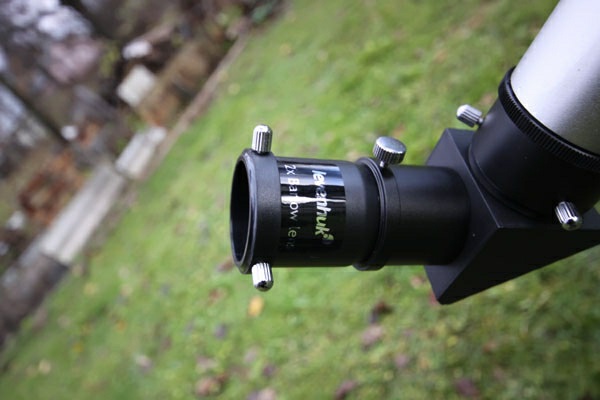
When assembling the instrument, install the diagonal mirror, which turns the light beam 90 degrees and allows for comfortable viewing in the near-zenith region.

Let’s look inside the tube through the diagonal mirror (from a distance of about 10 inches). We will see the image magnified about 4 times (900/25). Now install the low-power eyepiece with large focal length and see the details.

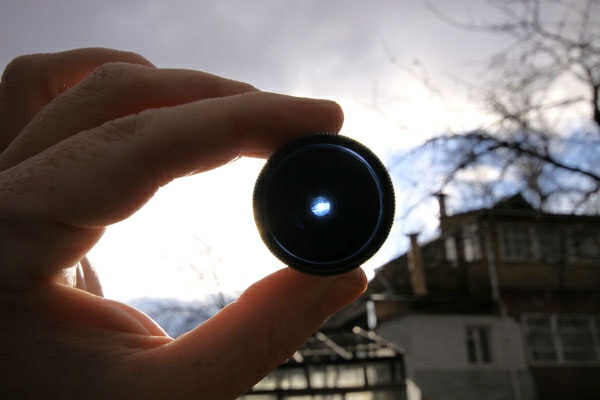
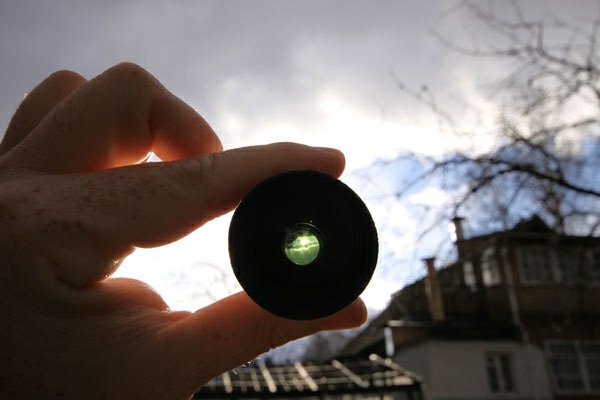
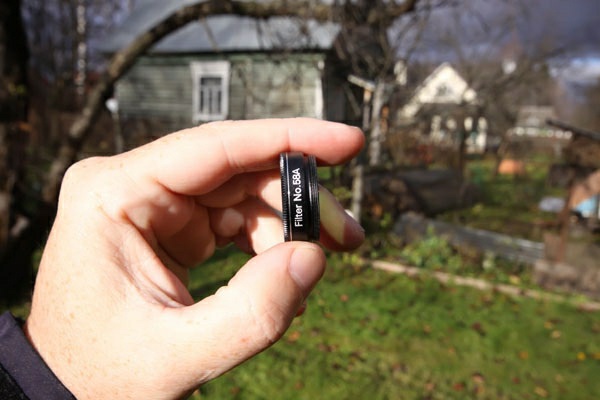
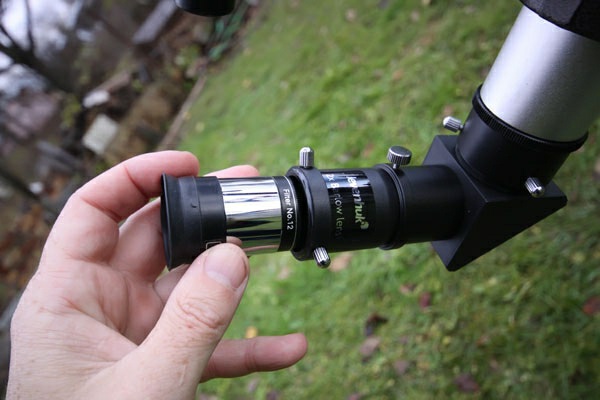
You can also screw an optical filter into the eyepiece node.
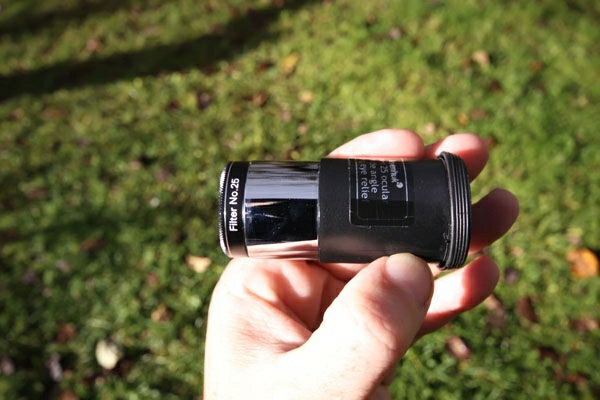
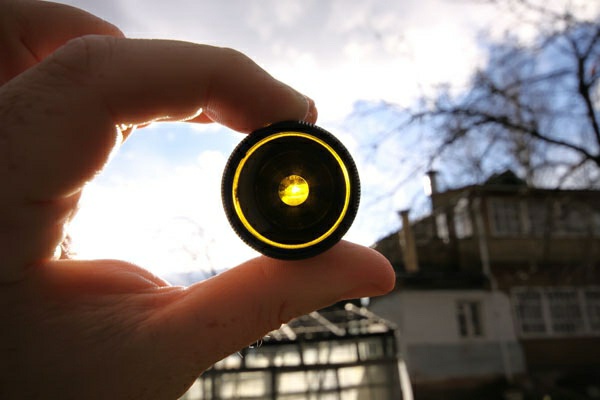
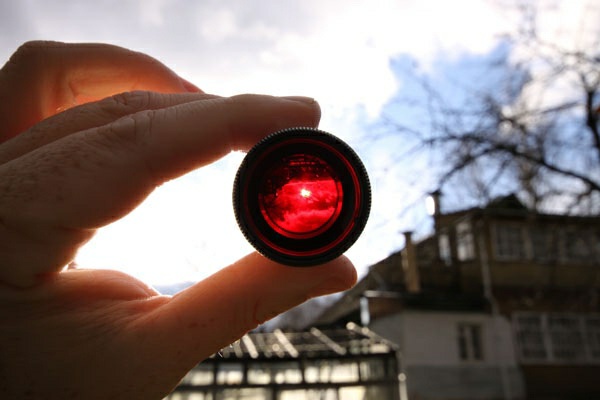
Levenhuk Strike PRO 900 Telescope comes with the richest set of telescope filters. Almost all of them, including the lunar one, are screwed into the eyepiece. However, the solar filter fits over the lens hood; that’s why it is called an ‘aperture solar filter’. Never view the Sun without a special solar filter – it may cause serious eye damage and even blindness.
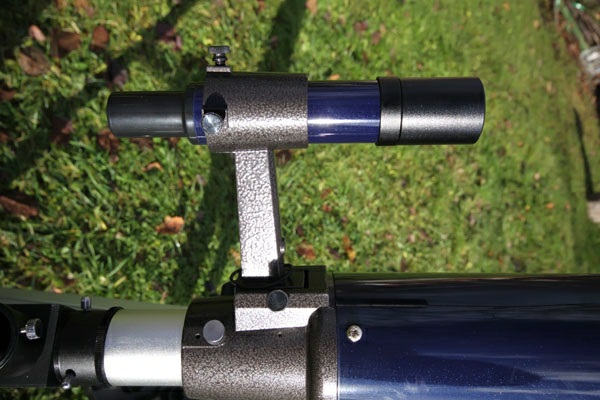
The telescope is equipped with a simple optical finderscope. Before starting your observations, point the telescope at some distant object (about 500 meters away from you) and align the finderscope. It will facilitate the navigation process during your observing sessions. You won’t be able to align the finderscope in the dark, so do it in advance.
90-mm aperture collects a lot of light - the brightest galaxies, nebulae, and clusters will be seen perfectly with this telescope model. The focuser is of the rack-and-pinion type.
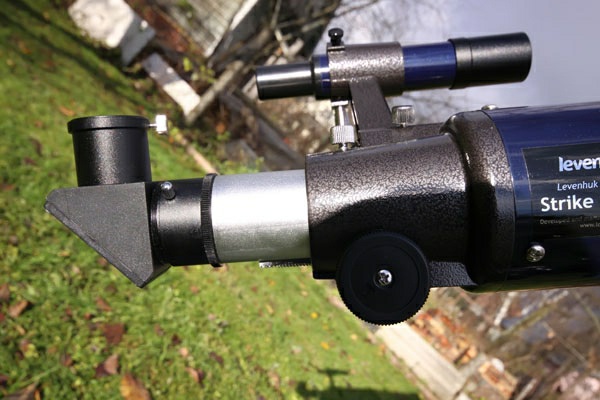
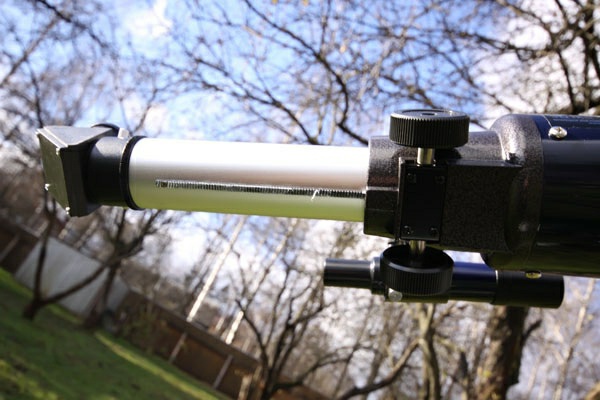
Even if it’s cold outside and you work in gloves or mittens – that won’t be a problem as the plastic focusing knobs are quite large and very convenient to use.
The solar filter is a metallized foil in a plastic frame. These filters, produced with the latest scientific and technological achievements, reduce the sun's light by 100,000 times! Using the solar filter, you will be able to see spots, flares, and other manifestations of solar activity visible in white light. The filter is easily scratched, so it requires a very careful handling. Always keep it in the container and take it out just prior to your observation.
The finderscope’s two adjusting screws are plastic, and the one internal screw is spring-loaded. The spring-loaded screw completely eliminates backlash.
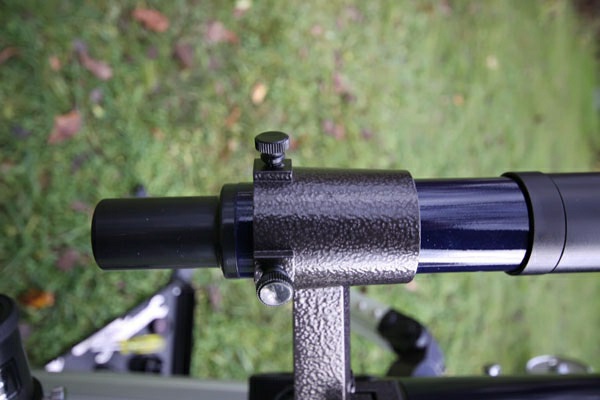
I should also mention that the optics of the finderscope are coated with a special anti-reflective coating.
The finderscope has crosshairs for quick and easy navigation.

The high rack of the finderscope is very convenient. The finderscope won't get knocked out of alignment because you accidentally touch it with your head. When installing the rack on the tube, carefully fix it with a screw.
Don’t forget about the supplied 2x Barlow lens. Use it in different combinations with eyepieces and filters. The Barlow lens doubles the effective focal length of the telescope; therefore it doubles the magnification power of any eyepiece you use it with. This Barlow lens allows you to have half the number of telescope eyepieces.
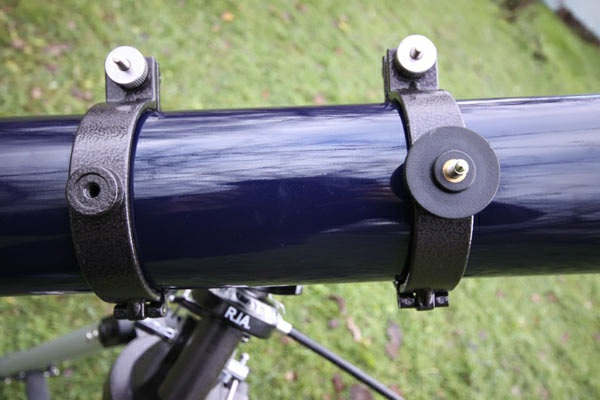
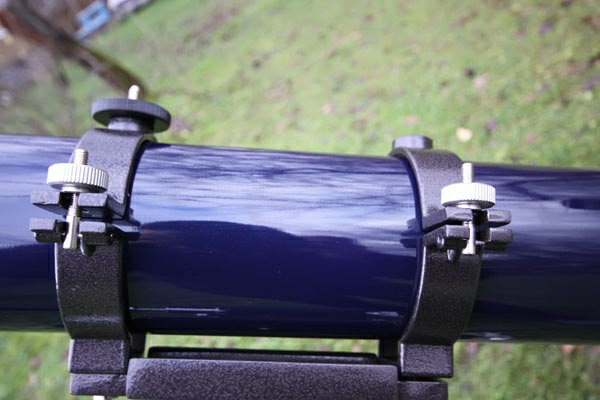
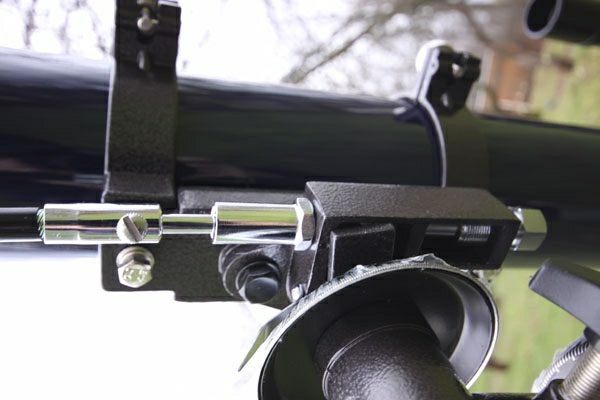
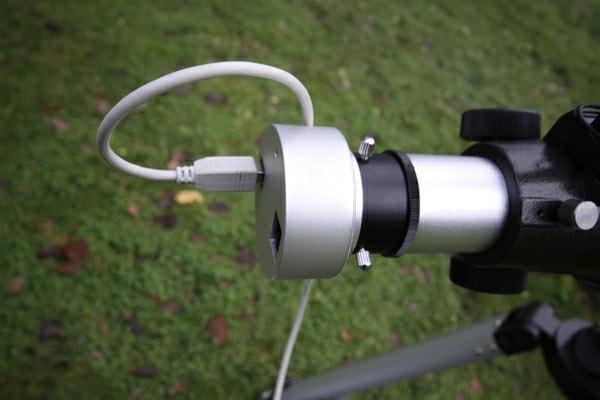
The optical tube is fixed in the ring clamps. One of them has an adapter for installing a telescope camera.
The camera should be mounted onto the adapter using the camera's tripod mount socket. Make sure that it's fixed well. The telescope will follow the motion of celestial objects you want to capture.
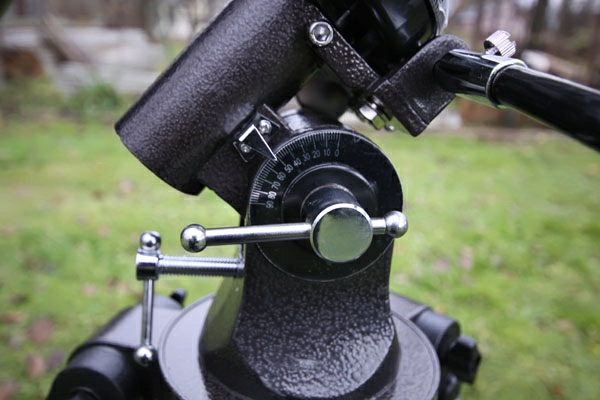
This telescope model is set on the German equatorial mount EQ2. Equatorial mounts are very popular among amateur astronomers; they are ideally suited for visual astronomical observations, as well as for astrophotography.
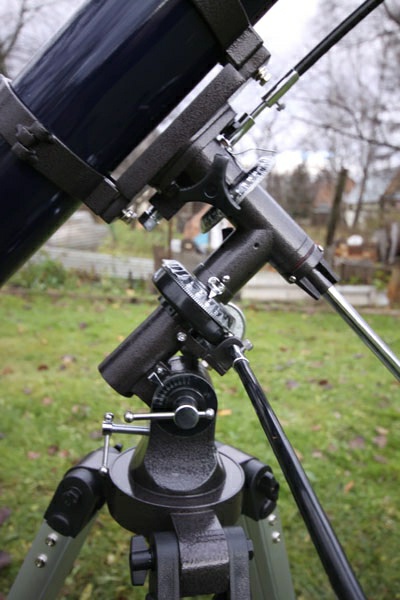
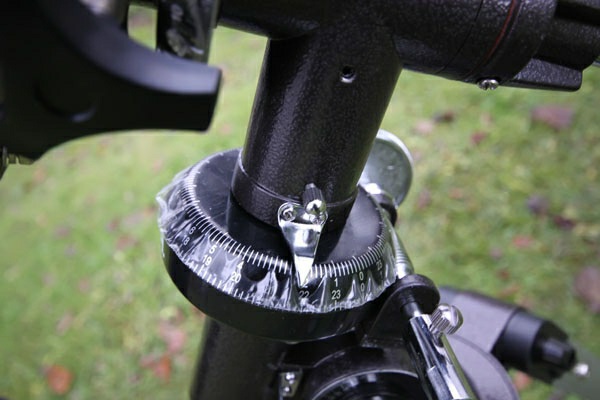
The mount has special coordinate circles that can help you find celestial objects by their equatorial coordinates; it also allows you to easily compensate the diurnal movement of celestial objects by turning only one knob. If necessary, the mount can be equipped with an electric motor drive – you won’t need to move anything – the telescope will follow desired celestial objects on its own. The electric motor drive will make your observing and astrophotography sessions much more comfortable, so if you decide to ‘upgrade’ your telescope, add the motor drive at the top of your shopping list. Considering the vast kit of additional accessories supplied with Levenhuk Strike PRO telescopes, you won’t need to buy anything anytime soon, but the motor drive is definitely worth spending money on.
The coordinate circles are equipped with convenient pointers for precise navigation.
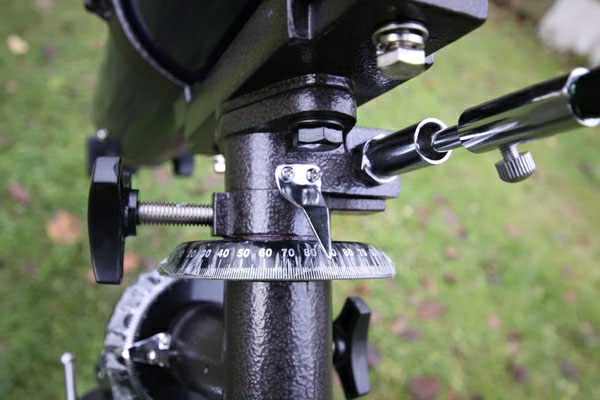
To find the desired object in the sky, loosen the locking knobs of the axes, align the instrument using the object’s coordinates, retighten the locking knobs, and then use the slow-motion controls for fine adjustment.
If you want to make truly impressive astro photos of the starry sky, the Milky Way galaxy, or some other beautiful astronomical objects, I recommend that you install the motor drive (bought separately) on the R.A. axes.
If you like shooting night landscapes, this mount is just perfect for you!

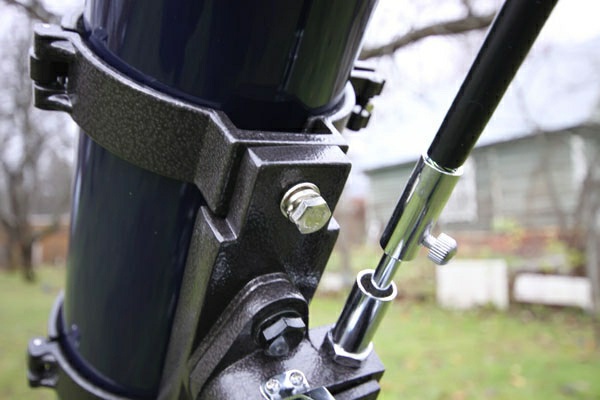
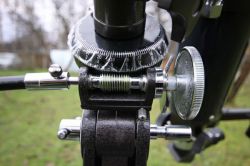
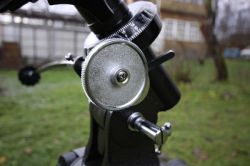
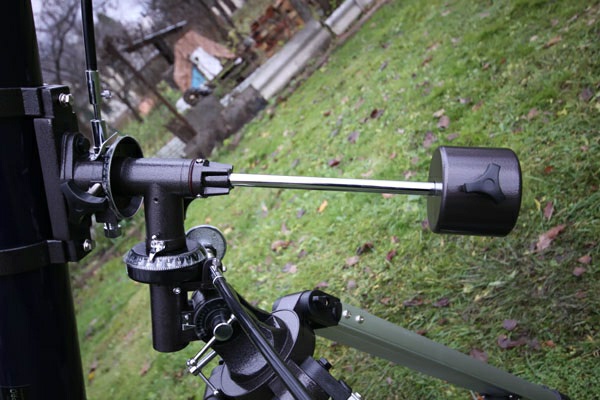
The polar adjustment knobs rotate freely. For more convenience, you can change the position of the knob itself.
I would recommend applying a small amount of lubricant in places where the friction surfaces come into contact: The movement will be much smoother; it will also significantly decrease the force transmitted to the shafts, threads and gears.
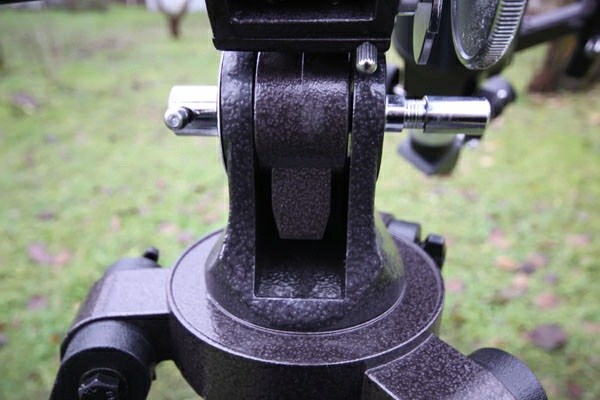
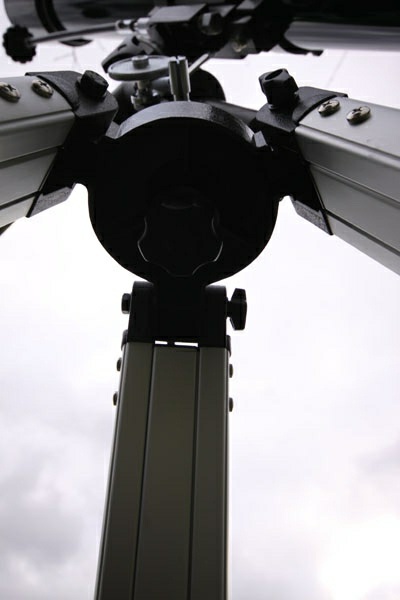
When setting the optical tube on the mount, make sure to carefully fix it with two screws.
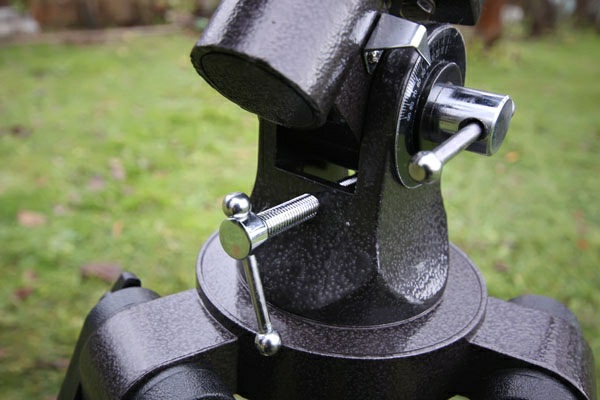
The place of the counterweight is defined by the telescope’s balance with axes lock knobs loosened. The telescope should not move on its own accord.
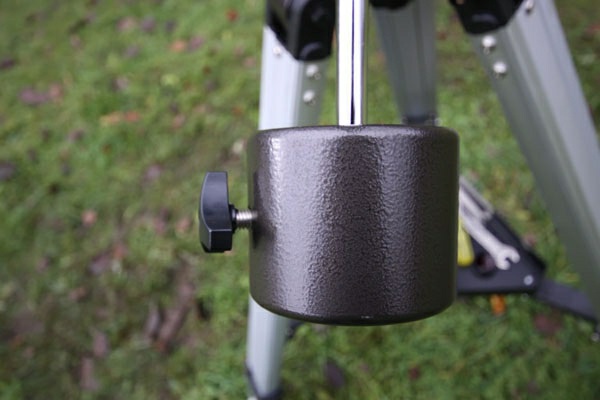
The mount itself must be fastened firmly to the tripod using this screw with a large handle.
Don’t forget to put a washer between this screw and the tripod.

The accessory tray can accommodate all the accessories included in the kit. The tray also ensures the tripod’s rigidity.s
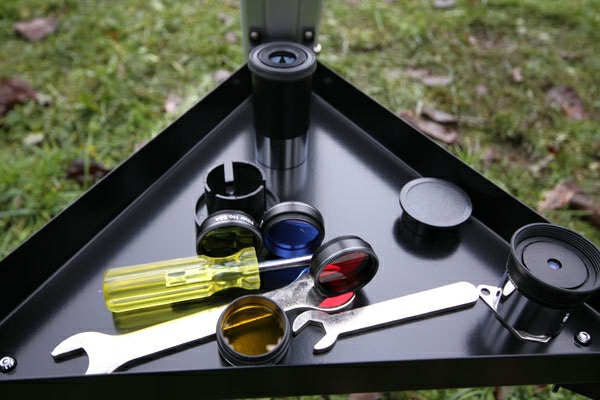
The tray is attached to the spider rods with three thumbscrews.
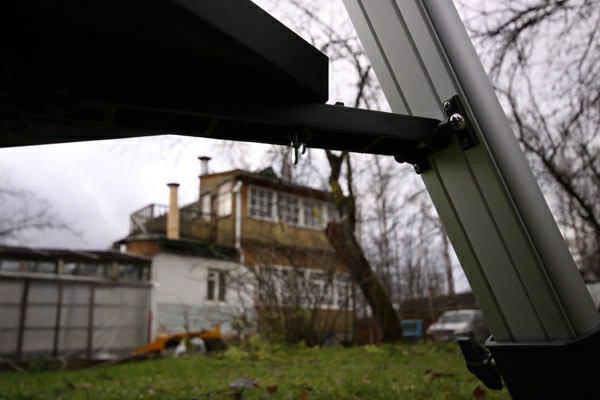
The tripod can be adjusted to fit the observer's height.

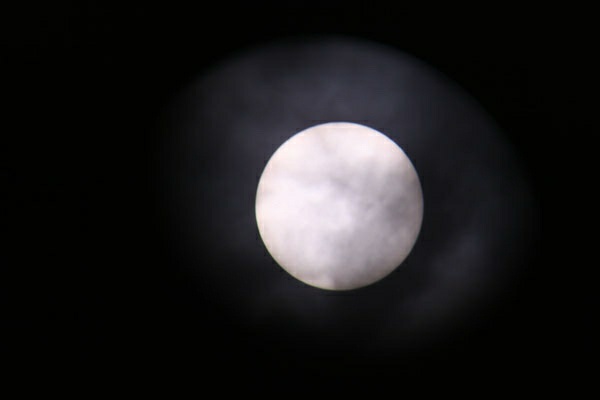
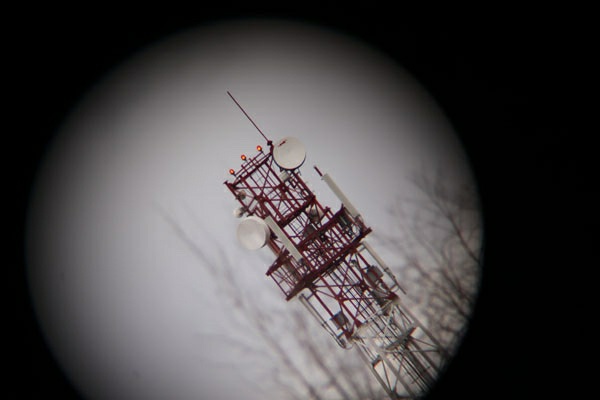
This Levenhuk Strike 900 PRO telescope sees its first light – as you can see, the produced image is sharp and contrast!
You can store the optical tube, mount, and tripod together in the supplied telescope case.

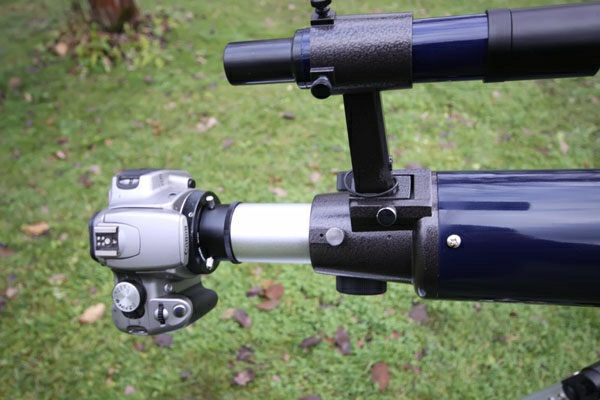
You can also install additional equipment such as a special telescope camera for astrophotography or regular SLRL camera via a suitable T-ring. There is a wide choice of T-rings available in stores designed for different cameras: Canon EOS, Nikon, Sony, Minolta, Pentax and so on.
You can hang these beautiful posters up on the walls of the children’s rooms.
Let’s see a few more accessories that come with the Levenhuk Strike 900 PRO telescope: planisphere - a rotating star chart, Stellarium 3D planetarium software, "See it all!" Astronomer's Handbook, compass.


| Specifications | ||
| Optical design | achromatic refractor | |
| Optics coating | fully multi-coated | |
| Objective lens diameter (aperture), mm | 90 | |
| Focal length, mm | 900 | |
| Highest practical power, x | 180 | |
| Focal ratio | f/10 | |
| Resolution threshold, arcseconds | 1.5 | |
| Limiting stellar magnitude | 11.8 | |
| Eyepieces |
SUPER 10 mm, SUPER 25 mm, Plössl 6.3 mm |
|
| Eyepiece barrel diameter | 1.25" | |
| Barlow lens | 2x | |
| Finderscope | optical, 6x30 | |
| Focuser | rack-and-pinion, 1.25" | |
| Tripod | aluminum | |
| Tripod height (adjustable), in | 28-49.2 | |
| Mount | EQ2 (German equatorial) | |
| Weight, lbs | 28.7 | |
Levenhuk Strike 900 PRO Star Test
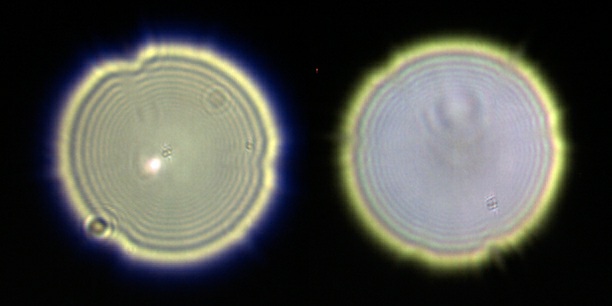
To evaluate the telescope’s image quality I’ve performed the Roddier test. This test is based on the light intensity changes of the intrafocal and extrafocal images of a star.

According to the results it is evident that the telescope has an acceptable image quality.
A few tips for beginning astronomers
If you have a digital camera, you can make truly great images of bright celestial objects, for example the Moon or Solar System planets. You can use this instrument for shooting deep-sky objects, but you won’t get good results due to high levels of chromatic aberration. The images you can see below are made with the Levenhuk Strike 900 PRO Telescope and and QHY-5 telescope camera in prime focus.
The Moon

Jupiter
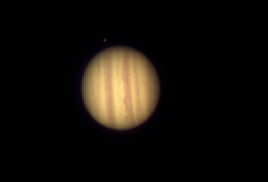
The telescope was mounted on the HEQ-5 mount – I needed a mount that would follow objects automatically.
Visual observations
Leave the telescope outside for an hour or so before observing, for thermal stabilization. Make a list of celestial objects you want to see beforehand. Don’t forget that the telescope can’t show you binary stars with a separation of less than 1.6''. I would also recommend adding a few eyepieces with different magnification and designed for different purposes. Order high- and lower-power eyepieces to observe close binary stars, planetary disks, and extended objects.
Details on the Moon and planetary disks are unbelievably beautiful and exciting and can ‘chain’ you to the telescope until sunrise. With this telescope you will be able to ‘fly’ over the lunar surface and enjoy this mysterious beauty with its craters, mountains, and seas! The interesting book that is included in the kit is the best information source for beginning astronomers.
Summary
The Levenhuk Strike 900 PRO Telescope is designed for beginning but serious-minded lovers of astronomy. It’s very far from just a child's toy - this is a quality instrument for astronomical observations and astrophotography. If you buy an erecting prism, this telescope will turn into a powerful spotting scope. The lightweight optical tube is installed on the EQ-2 equatorial mount with slow motion controls. The equatorial mount requires prior adjustments, but it is much more convenient than an alt-azimuth mount in terms of tracking celestial objects across the sky. The mount has special coordinate circles that help you find celestial objects by their equatorial coordinates. By turning just one knob, you can easily follow the diurnal movement of an observed object. If you equip this telescope with a motor drive, you won’t even need to turn that knob; the telescope will do all the work for you. The mount is installed on a stable tripod that is adjustable in height and has a convenient and spacious tray for accessories.
Levenhuk Strike PRO telescopes feature high-quality optics made of multi-coated glass – that means the images will be sharp across the entire field of view including the edges and with no or minimum distortions. All eyepieces included in the kit also meet the highest standards of optical quality. If desired, you can connect any available SLR camera to this instrument to get beautiful astro photos. The focuser has a standard T-thread so you can attach any camera model using a special T-ring (should be bought separately especially for your camera model).
The extensive kit includes everything a beginning observer and astrophotographer could only wish for!
Any reproduction of the material for public publication in any information medium and in any format is prohibited. You can refer to this article with active link to levenhukb2b.com.
The manufacturer reserves the right to make changes to the pricing, product range and specifications or discontinue products without prior notice.