BG
BG  CZ
CZ  ES
ES  HU
HU  IT
IT  PL
PL  TR
TR Levenhuk Strike 1000 PRO Telescope Review
I’ve been lucky to get an amazing opportunity from Levenhuk to test one of their telescopes and share my opinion. As an avid amateur astronomer and a big telescope lover, I volunteered to do it for free, so I can vouch for my objectivity. Don’t be surprised when I praise the instrument when relevant and berate it when deserved.
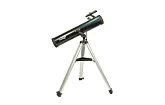
The telescope is very lightweight. It is designed so that one person alone can comfortably transport it by hand for long distances. The kit of the telescope includes a convenient pouch for the tripod and telescope bag for transporting the optical tube and all necessary accessories, which are already included in the kit as well. It’s nice that the manufacturer thought through all aspects of using their product, it means that the company cares for the comfort of the end user. During several days of intense use of the telescope, though, I still managed to find some flaws, which will be discussed further on.
All weekend I’ve been running around with bags full of equipment visiting my favorite observational spots and now I can tell for sure - Levenhuk Strike 1000 PRO is a very mobile telescope. It’s a huge advantage which outweighs many, if not all, disadvantages of the model. For example, my 130-mm Newtonian is resting on my balcony for the third month in a row, all because of its huge weight and large dimensions. Transporting it to the observational spot is like a decent gym session for me. It works like this: the bulkier and heavier the telescope, the more massive the mount and tripod that are required, so often you have just a very expensive interior decoration instead of a working instrument. But that’s not how it’s going to be with Levenhuk.
The kit of this telescope is the fullest set of telescope accessories I’ve ever seen included in a standard kit.
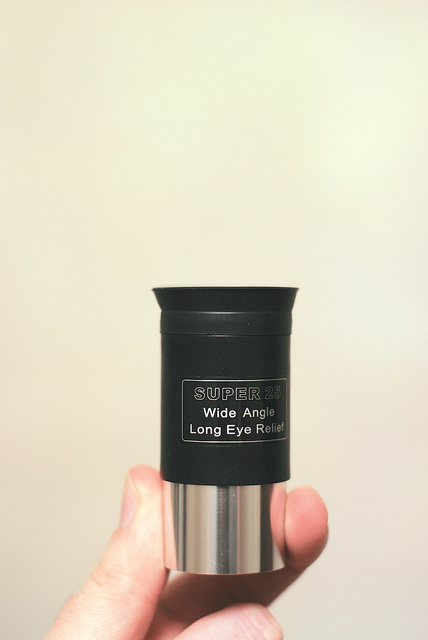
SUPER 25mm eyepiece installed on the telescope provides 52 times magnified images. I used it mostly for navigation over the sky and searching for interesting objects to observe. It also performed very well during lunar observations. The eyepiece provides sharp and bright images. The lenses are multi-coated, so at a small angle you can catch a glimpse of blue-violet glares.
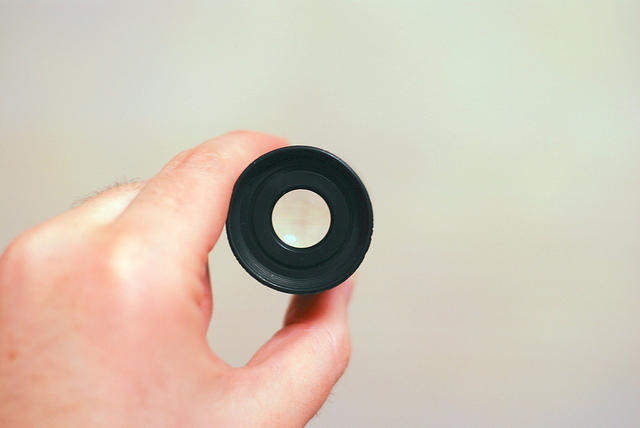
Exit pupil of the eyepiece.
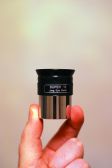
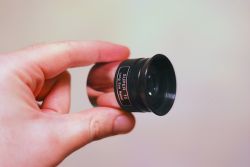
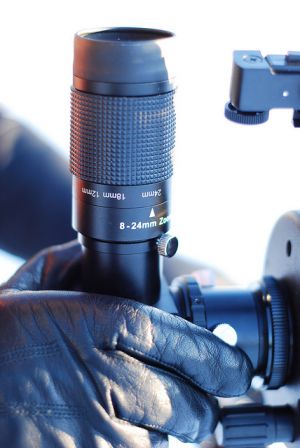
The next eyepiece is SUPER 10mm. It also has multi-coated optics and features smaller dimensions. Joint use of this eyepiece with the telescope gives you 130x magnification.

The kit also includes fully multi-coated Plössl eyepiece. The focal length of 6.3mm provides you with 206x magnification, which is, by the way, close to the telescope’s highest practical power. The images are sharp, but a little darker compared to the two previously discussed eyepieces. For observations with such an increase you need a calm atmosphere and a good spot somewhere in the suburbs. This eyepiece is a good choice for planetary observations.
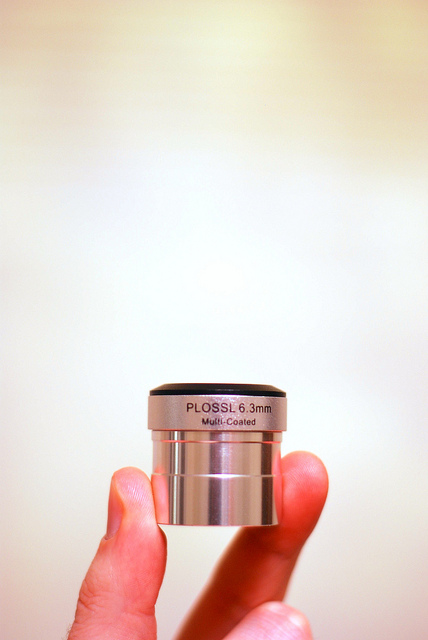
Unlike SUPER eyepieces, the Plössl eyepiece doesn’t have rubber eyecup. The eye relief is not long, so my eyelashes touched the plastic surface of the eyepiece during observations.
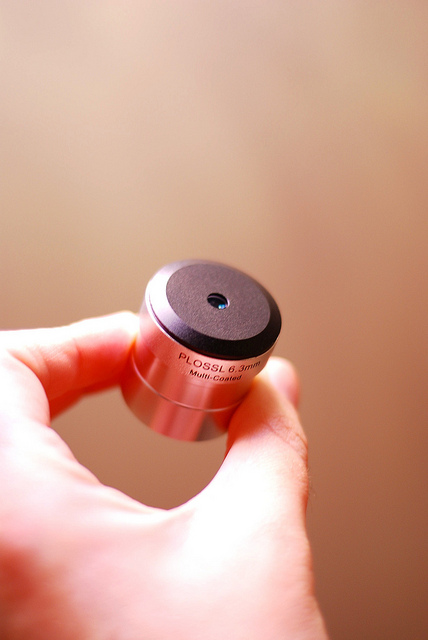
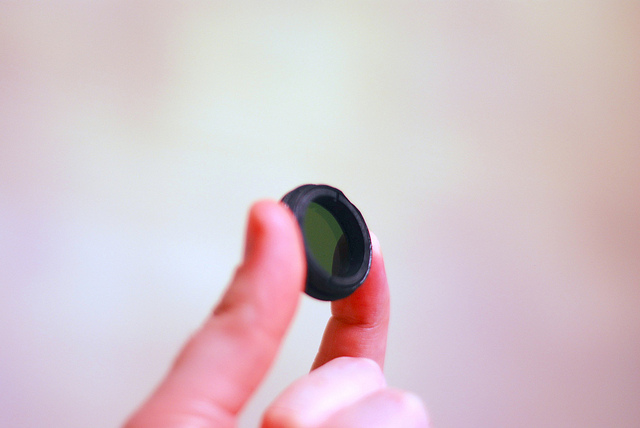
View from the other side – you can see that the eyepiece is blackened from the inside.

All three eyepieces have 1.25” barrel diameter, each one of them is threaded for optical filters.
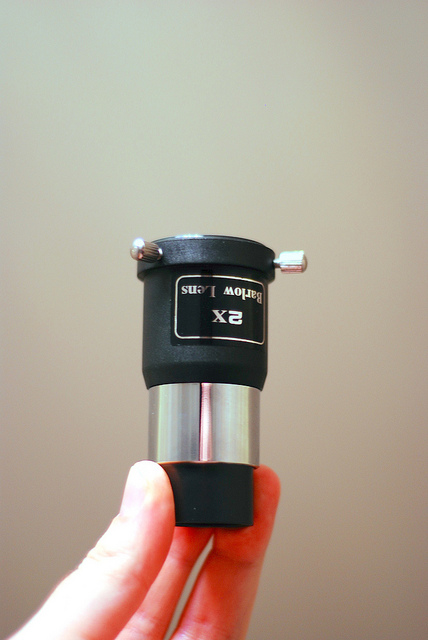
In the kit you will also find 2x Barlow lens. It doubles the telescope’s focal length and its magnification, but it narrows the field of view.
The relative dimensions of the eyepieces and Barlow lens.

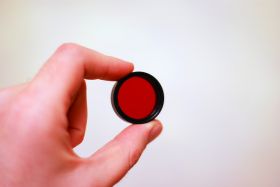
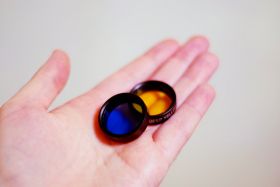
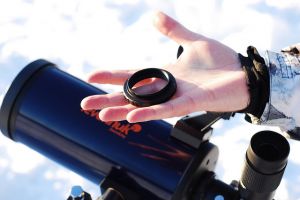
There are also four color filters: red, green, blue and yellow. You can combine color filters and use several filters at once by attaching them to each other. The rims of the filters are made of metal, while the filters themselves are made of glass.
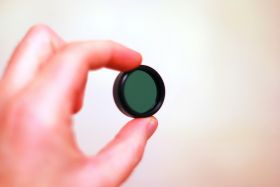
Green-gray lunar filter. Also made of glass, but its rim is plastic. Not threaded to connect to other filters.
One more nice addition to the kit is an aperture solar filter. While the previously discussed filters (color filters and lunar filter) should be installed on telescope eyepieces, the solar filter should be attached to the telescope’s objective. Like the old joke says – you can observe the Sun without solar filter only twice – one time with your right eye and one with the left. The yellow band on the filter warns you about that. Always protect your eyes.

The other side of the solar filter.

You wouldn’t believe it, but that’s not all. In the kit you also get an erecting prism, Red Dot finder scope, wrench set (didn’t use it to be honest), two bags (for the telescope tube and for the tripod), compass, set of colorful posters, multilingual user manual, star chart, CD with planetarium software and a very good printed amateur astronomer’s handbook.
Here are a couple of pages of this useful book I’ve scanned to show you.


Now let’s get to the most interesting part – assembly and testing. The assembly process was very easy for me, all it took was about fifteen minutes, keep in mind that I was multitasking: assembling the telescope, reading live journal and taking care of some small household chores. The ease of assembly is another undeniable advantage, which I learned to appreciate while assembling the telescope at night.
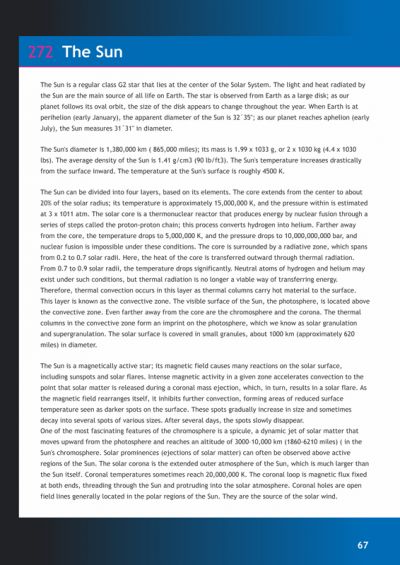
First you need to unpack the tripod and install the accessory tray. The tripod is made of aluminum and is very lightweight. Being connected to all three tripod legs, the tray contributes to the tripod’s stability.
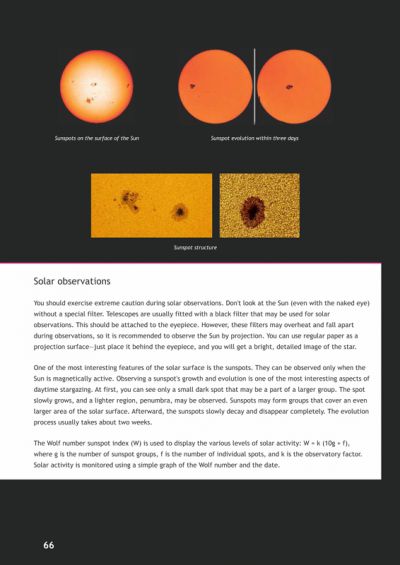
Here’s the plate for the mount.
Before installing the mount, don’t forget to tighten all the screws securely. The heads of all screws are made of plastic, but they are very firm.
Tripod legs come with rubber feet meant to protect the floors at home. Tip for the future: if you are planning to observe in the field, remove these rubber parts and leave them in a safe place at home.
Now let’s move to the mount installation. The telescope comes with EQ2. Mounts of this type are usually very convenient for astronomical observations. If you align R.A. axis correctly you will be able to compensate for the daily rotation of Earth with just a turn of only one knob. For terrestrial observations this type of mount is not applicable. I mean technically it’s possible, but it’s not very convenient.

The mount is equipped with two coordinate circles, which significantly simplify searching of desired celestial objects by their coordinates taken from star maps or planetarium software. The circles are installed on both R.A. and Dec. axes.

The mount also allows you to install a motor drive on the R.A. axis. Motor drive is not included in the kit, but you can purchase it separately.
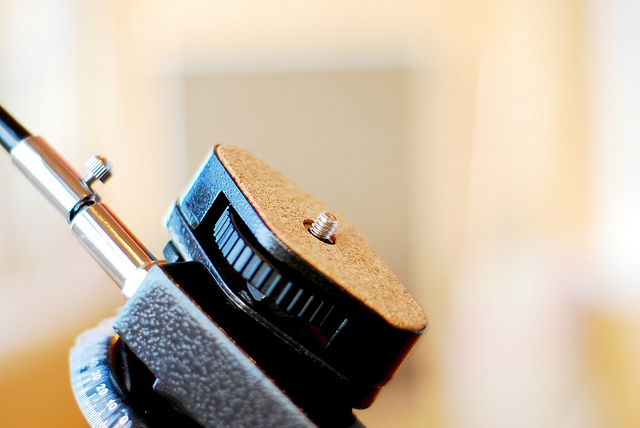
The mount is attached to the tripod with the bolt underneath the mount plate.

I’ve had some troubles with this bolt. In theory it should firmly maintain the mount in its place on the tripod. In reality after many rotations of the telescope tube around the Dec. axis, the mount has moved a little regarding its initial position. After several hours of observations I’ve noticed that the bolt has loosened a bit. Maybe I just didn’t tighten the bolt enough, I guess EQ-2 mounts owners will be able to clarify whether it’s a known problem of all mounts of this type or just my carelessness.
Now you need to set the latitude of the area where observation takes place. The mount’s latitude scale value is 2 degrees.

When the desired latitude is set, lock it using latitude adjustment T-bolt (you can see it on the left in the photo) and tighten Dec. lock knob (in the center of the picture). The mount holds the latitude really well - I haven’t notice any shifts or wobbling during observations.
A view from the side of the latitude adjustment T-bolt.
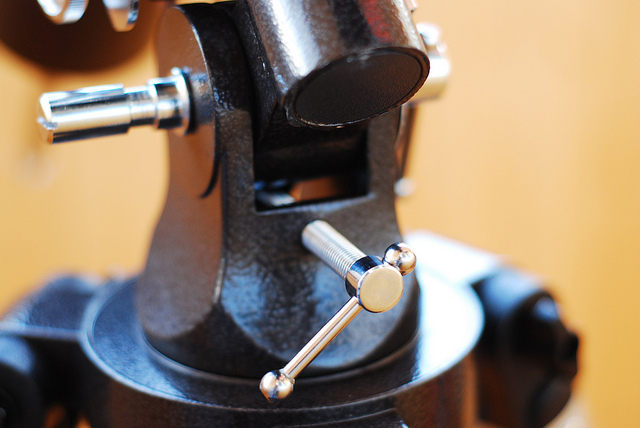
Now attach the counterweight.

The mounting platform of the mount looks exactly like that of any standard photo tripod.
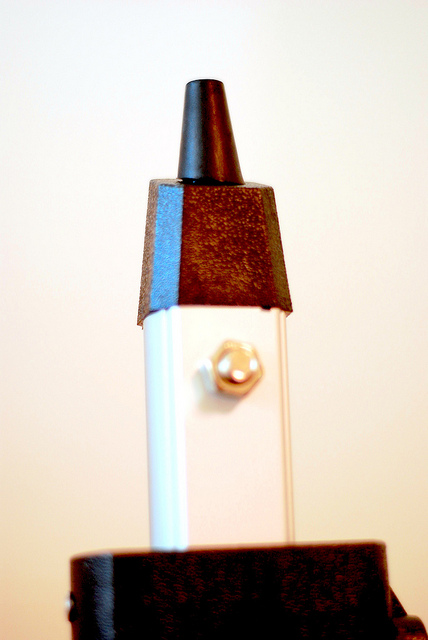
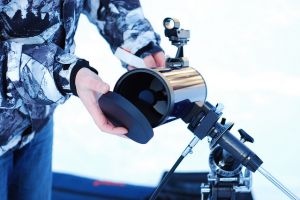
Mounting place on the telescope tube.

Now the telescope tube is attached to the mount.

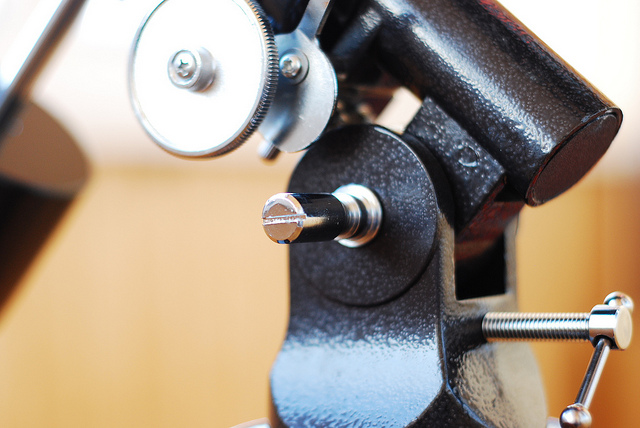
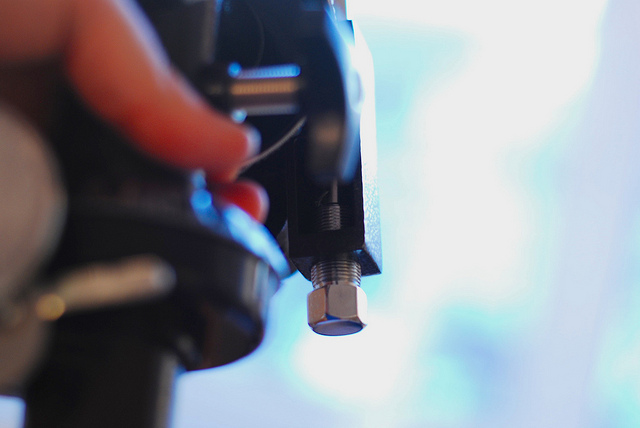
I’ve noticed several flaws in this type of tube attachment. First of all, the connection between mount and optical tube is not firm enough; it loosens during intense use. So once every hour and a half I had to stop my observations and tighten the screw that attaches the tube to the mount. The second flaw is linked to the use of heavy eyepieces (I have some – one of my eyepieces weights 8 ounces) and SLR cameras. I should mention that if you use eyepieces from the kit you won’t have any problems. But if you install a heavier eyepiece, then the telescope’s center of gravity shifts. In such case when you loosen Dec. lock knob, the telescope’s objective rushes to the zenith.
Rotation is transferred to the R.A. axis using worm-gear, which means that moving in this axis is almost unlimited.

The declination axis has a limitation, but you can’t say that that’s exactly a bad thing. If the telescope is polar aligned, you would barely need to make any corrections, so the available moving range should be enough. At least I haven’t had any discomfort regarding this.
Now let’s install the diagonal mirror

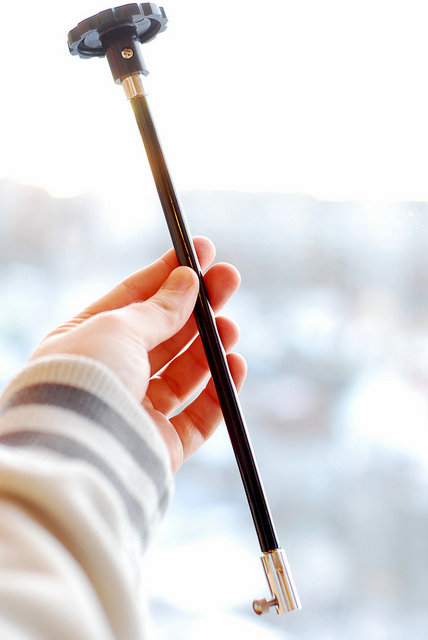
And attach slow-motion controls.
The finishing touch is installation of the Red Dot finderscope.
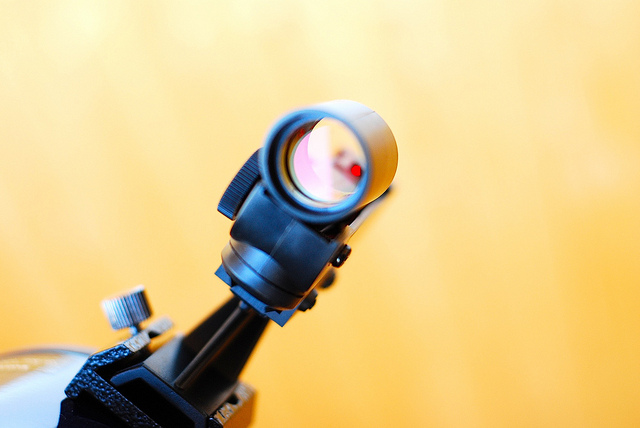
I should say the finderscope is wonderful. The optics are multi-coated, the dot is so bright that it doesn’t pale even next to the Moon. With this finderscope, pointing to stars and planets is indeed very swift and easy. During the very first minute of using it I’ve already decided that I’m certainly going to buy a finder like this for myself. It’s really useful and practical, so I recommend all astronomers have it in their arsenal.
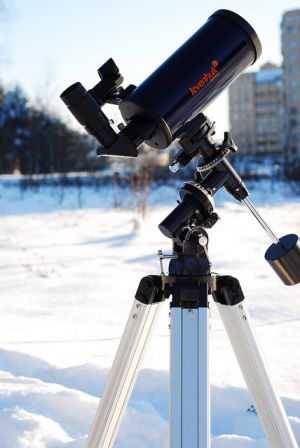
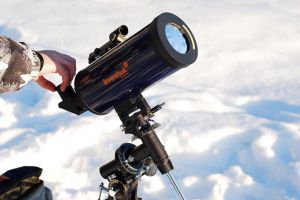
Here’s the fully assembled telescope. You can’t see the diagonal mirror in this picture because I detached it to get the telescope ready for taking cityscape pictures.
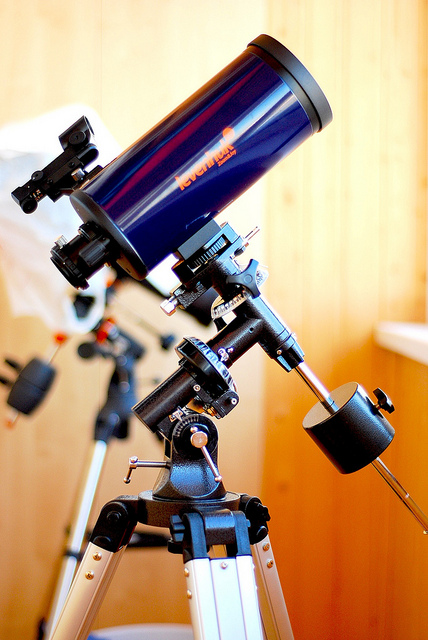
So what we have here is a lens-mirror telescope. Levenhuk Strike 1000 PRO is a telescope of Maksutov-Cassegrain optical design, which allows for large magnification and tiny optical tube at the same time. You can find detailed information on the of such optical design on the Internet, for example in Wikipedia, so I will not elaborate on it.
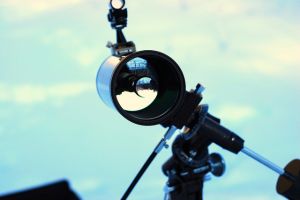
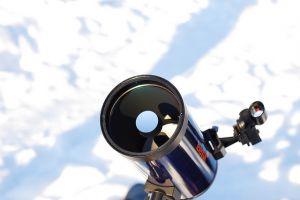
Let’s remove the objective lens cap and take a look at the main lens.
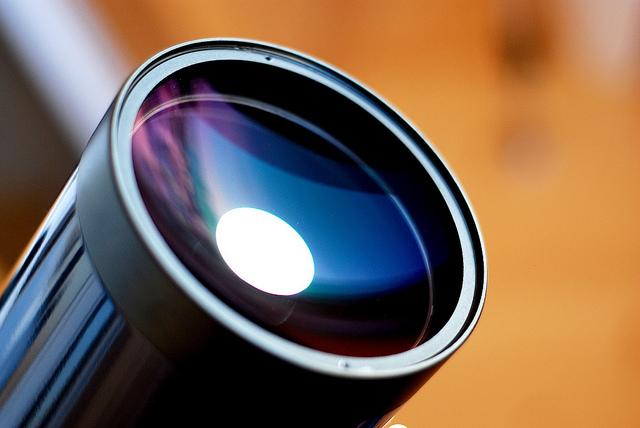
These blue-green-violet glares you can see in the picture are results of the full multilayer coating of the lens. The inner surface of the tube is blackened. By the way, the telescope provides mirrored images. Left and right switch places, but top and bottom stay where they belong.
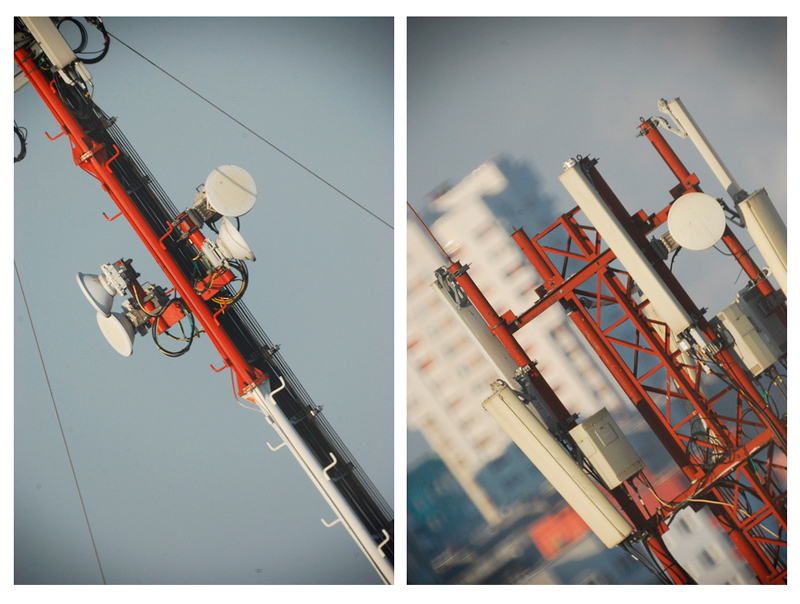
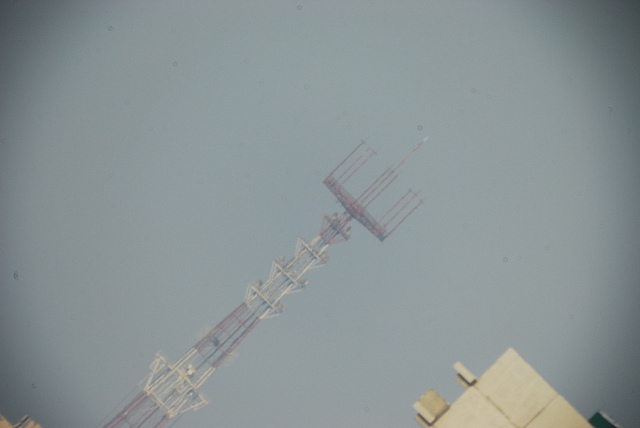
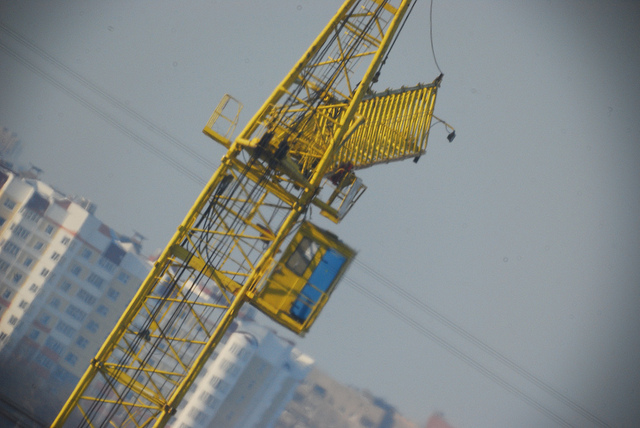
A couple of words about testing conditions. I shot pictures in the morning through the window glass using my Nikon D80. It was cold outside, just about 20 degrees. Visibility was about 12 miles. It was a slightly misty, sunny morning. The images were taken using prime focus technique; no editing was applied. The distance to objects I determined using Google maps.
Mobile network antennas, the distance is about 750 feet.
TV tower, the distance is about 5 miles.
Tower crane, the distance is about 2200 feet.
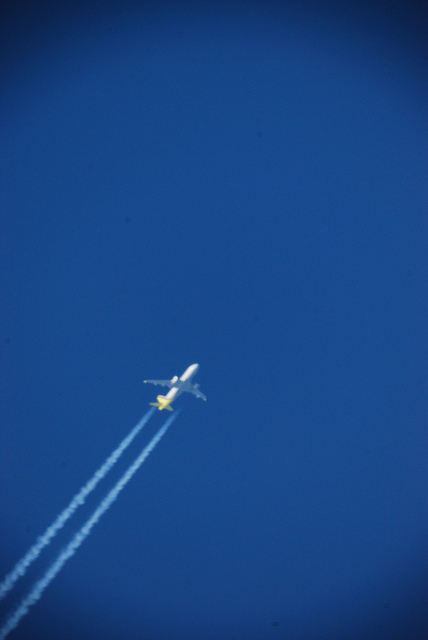
A plane flying over my house. To be honest I don’t know the height of civil aviation flights. Something around 3 miles?
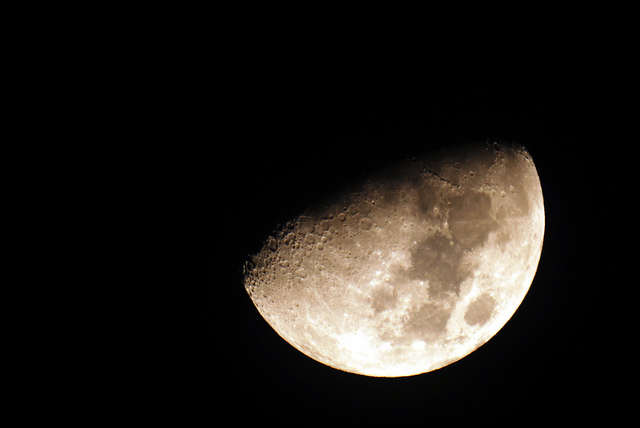
By the night the weather had become adverse, the sky was covered with lots of small clouds. The Moon rarely appeared from behind the clouds. I managed to take a decent picture only after thirty or so failed attempts.
So the Moon, the distance is about 239,000 miles :)
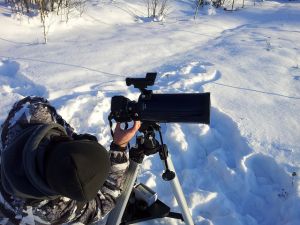
The next day we were testing the telescope in the field and solar observations were also scheduled that day.
Unpacking and assembling the telescope again.

I want to mention the telescope bags one more time. The bags are very convenient and roomy, but the telescope case has one disadvantage compared to the tripod pouch. The thing is the strap is attached to the case with plastic straps. I didn’t want to test my luck and always took the case by the handle, which is stitched to the top of the bag. I would rather replace plastic elements with metal ones.


If you are going to perform astrophotography sessions in the field, remember that it’s almost impossible to set any amateur telescope tripod in a strictly horizontal position without a spirit level. When you assemble a telescope at home this problem doesn’t arise because of the flat floors. But when you are in the field, the tripod will always be inclined to some extent. This won’t cause any discomfort, though, during visual observations.


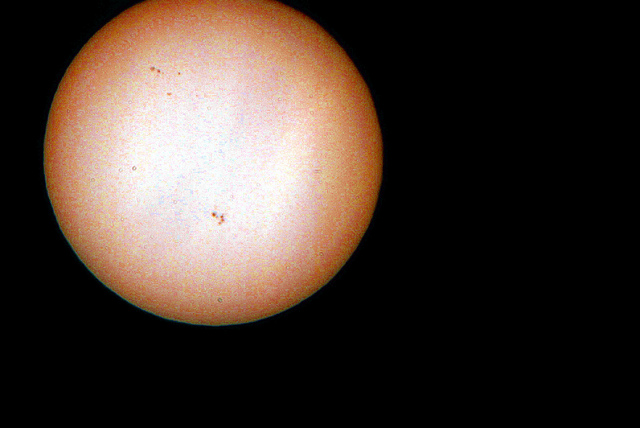
If you look at the Sun through a solar filter, it will appear as a big white circle with black spots. The edges of this circle are blurred, ever changing; it’s like it’s shaking. To make solar observations more familiar and fun, let’s add a yellow filter. It adds color, but sadly not details, I didn’t see a solar crown or prominences. Focusing on the Sun is a difficult task, I recommend you simplify it a bit by wearing sun glasses.
The focusing is done with the focusing knob which moves the primary mirror along the optical axis.

To connect a camera you need a T-ring. It’s not included in the kit, but you can buy it in any photo store.
The fruit of my labor – the Sun, the distance is about 93,205,678 miles.
As the task has been successfully accomplished, we pack the telescope and accessories and go home.
The following night we went for lunar observations, which everyone enjoyed very much. I was with a couple of my astronomy enthusiast friends. Everyone couldn’t wait for their turn to observe lunar craters. We were almost pushing each over away from the eyepiece! The images provided by the telescope were contrast, sharp and vivid.
Then we observed Jupiter. The cloud band and four of its moons may be observed easily. In the end we observed Orion and went home with tons of positive emotions and excitement.
To sum it up, here are the telescope’s pros and cons:
Pros:
- Small weight and size. No problems with storing and transporting
- The richest kit. Literally everything a beginning amateur astronomer might need
- Excellent finderscope. It’s a pleasure to search celestial objects with this wonderful device
- Bags for telescope and tripod included in the kit
- Quality eyepieces in the kit
- Rubber feet for the tripod’s legs
Cons:
- Insecure mounting of the tripod to the mount. I’m not sure about this point, but that’s how it was in my case
- Insecure mounting of the telescope tube to the mount. All the problems come from the way of attachment – with just one screw, which position can’t be changed
- Plastic straps of the telescope bag. The heaviest parts of the telescope – optical tube, mount and counterweight – are meant to be transported in this bag.
At this point I would like to end this review with a huge thanks to Levenhuk for the opportunity to test the Strike 1000 PRO telescope and for the great weekend I had with this instrument.
Any reproduction of the material for public publication in any information medium and in any format is prohibited. You can refer to this article with active link to levenhukb2b.com.
The manufacturer reserves the right to make changes to the pricing, product range and specifications or discontinue products without prior notice.