Levenhuk SkyMatic 127 GT MAK Review
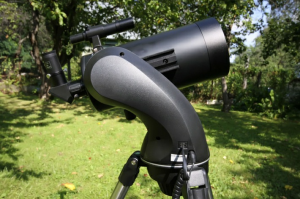
This catadioptric telescope of Maksutov-Cassegrain optical design gives a very good first impression thanks to its light weight and compactness. The telescope’s dimensions are only 17.1x34.4x10.2 inches, it’s slightly bigger than normal hand baggage size. The telescope can be carried by hand or in a backpack. This telescope model can be mounted onto any balcony or patio, allowing you to conduct visual astronomical observations with maximum comfort. Just like other more advanced model in the series - SkyMatic 105 GT MAK, this telescope provides images of the highest quality. Its light weight allows using it as a handy portable instrument that you can take with you on different astronomical activities, star parties, to the countryside, or somewhere far away from bright city lights. The telescope assembly is very simple and takes just a couple of minutes. Once the telescope is assembled, it can be easily transported, even by a kid. With this telescope you don’t even have to get up from your chair to navigate on celestial objects and observe them. Nighttime makes this telescope invisible: painted in black, it can’t be noticed even at a distance of 15 feet away. The Levenhuk SkyMatic 127 GT MAK telescope should be stored in a case.
First acquaintance with the telescope
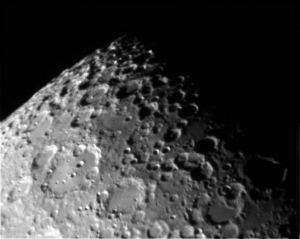
When using the telescope for the first time, point the telescope at the Earth's moon and use low-magnification eyepiece. The lunar mountains always look very impressive. Together with lunar craters they create the impression of volume in produced images; telescope movement at the lowest speed will transform your observations into an unforgettable flight over the seas and craters of the Moon. Just imagine you are in a spacecraft flying above the surface of the Earth's satellite, watching uninhabited lunar landscapes through a porthole window. I guarantee that even the very first observation with this telescope will bring you a lot fun and excitement! And as this model is lightweight, compact and user-friendly, after your observations you will feel relaxed and peaceful and will go to sleep absolutely happy.
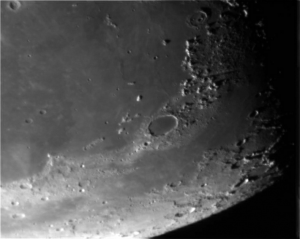
This shot and all subsequent images are made with the Levenhuk SkyMatic 127 GT MAK telescope and QHY-5 telescope camera. The series of images was processed using the Registax image-editing program. When observing the Moon, you should also think about the atmospheric turbulence. The height of the Moon should be more than 30 degrees to prevent the image-degrading effect of the turbulence.
These two images are made with a 2x Barlow lens with equivalent focal length of 3000mm.
Congratulations! You have purchased a wonderful meniscus telescope! Let's take a closer look at the telescope's parts and their functions.
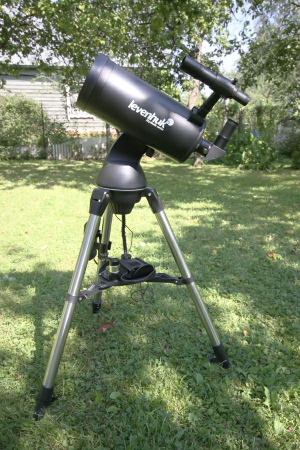
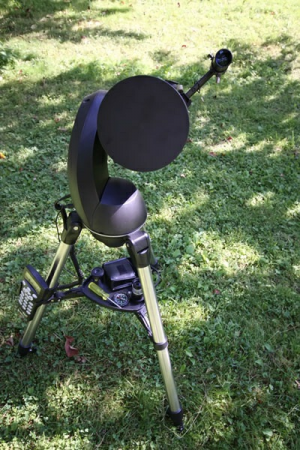
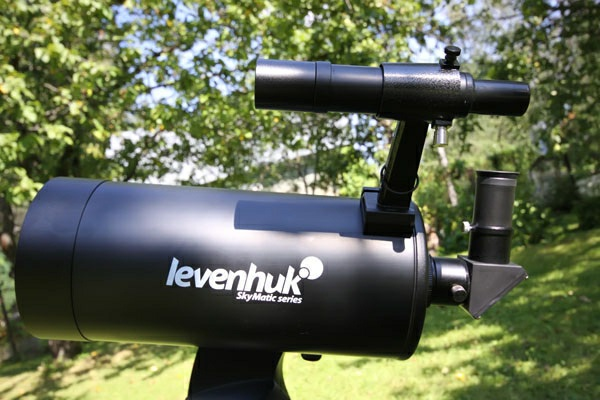
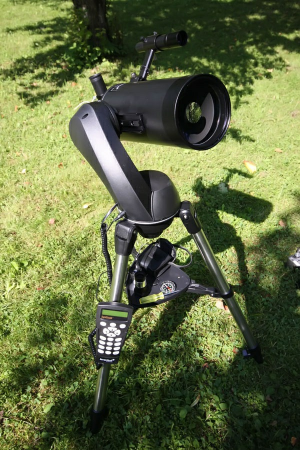
A general view of the Levenhuk SkyMatic 127 GT MAK telescope:
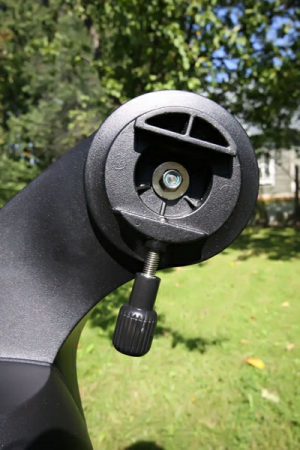
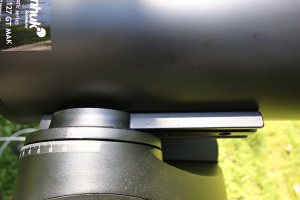
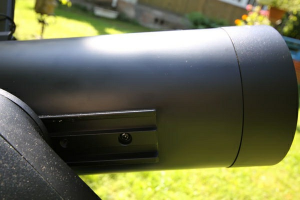
The assembling process includes two simple operations. First, attach the mount to the tripod using the clamping screw, and then attach the optical tube to the dovetail plate on the mount and secure it in place.
The tightening torque should be sufficient to securely fix the telescope tube in the dovetail plate of the mount. Then remove the dust cap from the front of the optical tube.
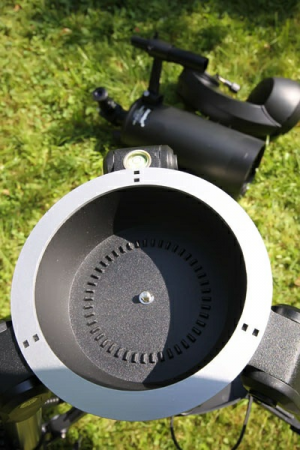
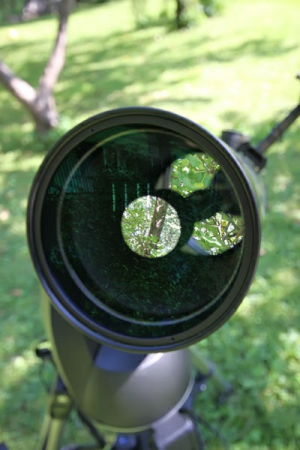
The first thing that catches your eye - multiple reflections in the meniscus system. By the way, meniscus lens (or front lens) is exactly what securely protects the interior of the optical tube from dust. There's no turbulence within the optical tube, which makes the views contrast and stable. The lenses of the telescope are fully multi-coated, which provides for maximum light transmission, and the mirrors are covered with a special protective coating to increase their lifespan. The shielding system cuts down on stray light getting inside the optical tube.
The optical tube of the telescope is blackened internally to avoid scattered light. The tube itself is made of metal, the rims of the meniscus and the primary mirror serve as the stiffening ribs of construction.
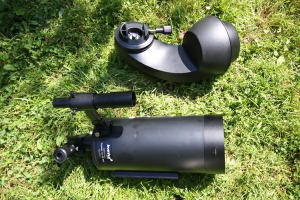
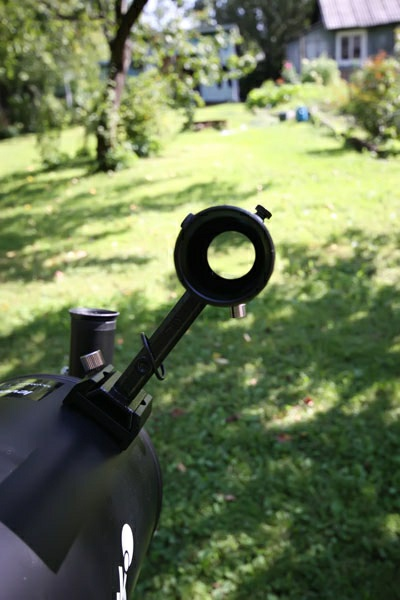
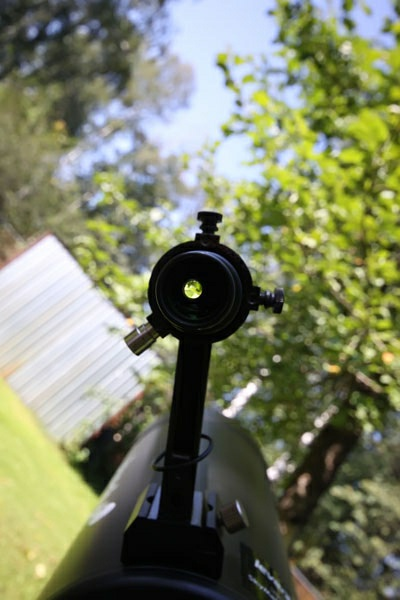
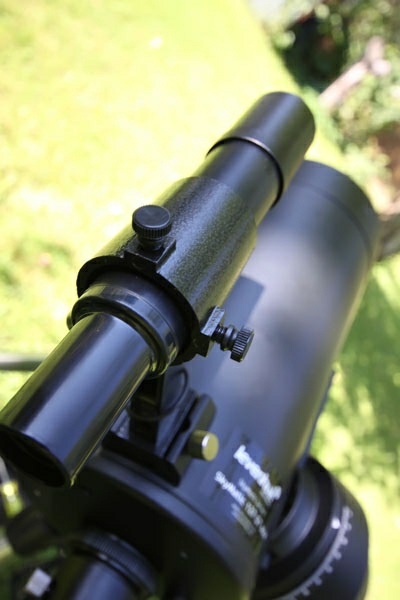
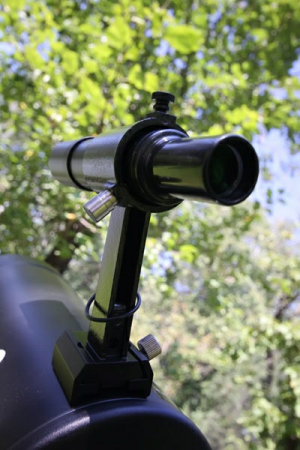
Plastic optical finderscope is installed on a high mount, which is very convenient during pointing to desired objects. Before your first observation with this telescope, point the telescope at any distant object and align the finderscope. The object should be located at a distance of not less than 900 feet from you. The finderscope can be aligned with two adjustment screws. It should be noted that the optics of the finderscope are also multi-coated.
Make sure that the thumbscrew that locks the finderscope mount in place is tightened securely.
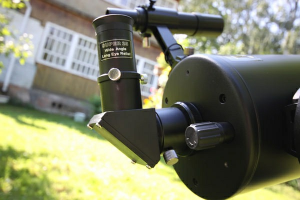
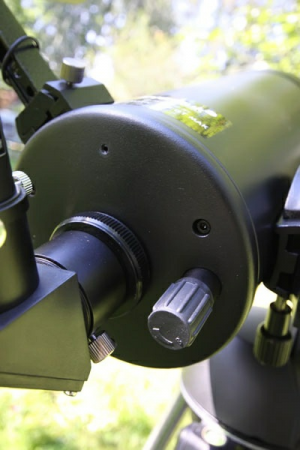
The focuser is located at the back of the optical tube. Rotating this smooth-running handle, we move the primary mirror of the telescope along the optical axis to obtain the best image quality. I didn't notice any change in object positioning in the plane of the image while refocusing. Here is what the fully assembled telescope with installed diagonal mirror looks like:
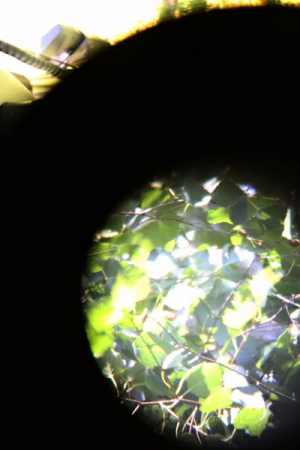
Take a look through the eyepiece of the Levenhuk SkyMatic 127 GT MAK telescope:
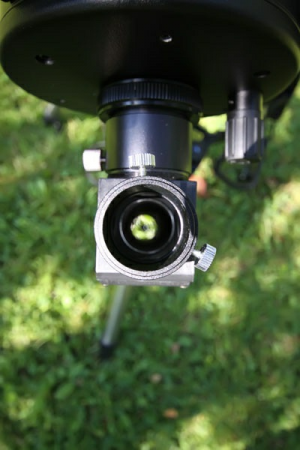
There are three pairs of adjustment screws attached at an angle of 120 degrees to the tube's body. Each pair has a locking screw for fixing aligned position. On the diagonal mirror's body there are screws for attaching an eyepiece.
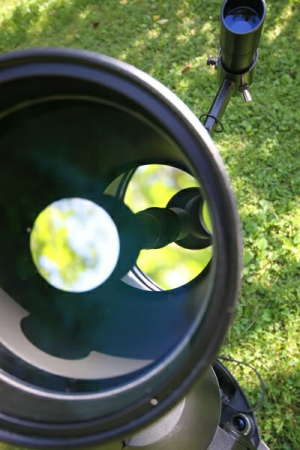
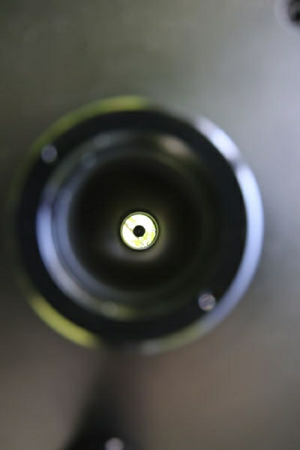
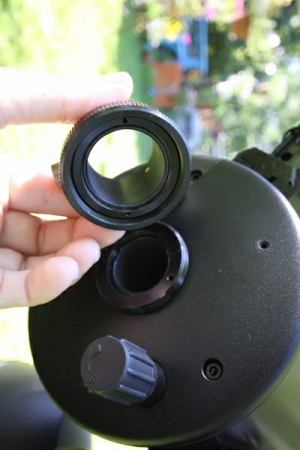
After removing the diagonal mirror and the adapter we can see a small black circle - this is screening by the secondary mirror.
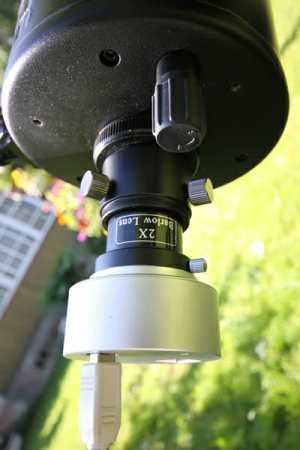
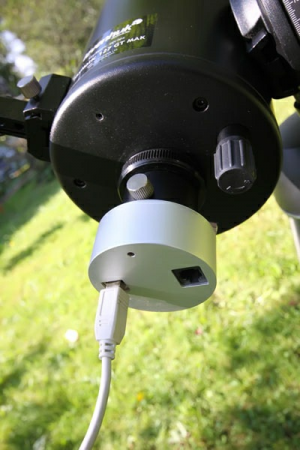
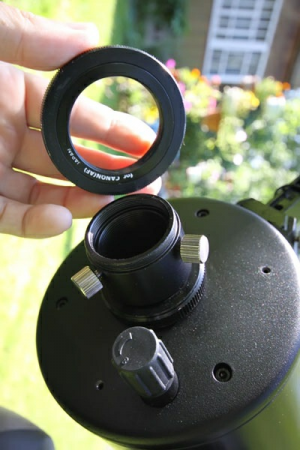
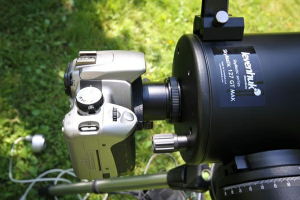
Below you can see the telescope camera mounting options for taking pictures of the Moon and planets in prime focus with or without the Barlow lens:
To shoot using an SLR camera, you will need a special adapter (for different camera models there are different camera adapters), purchased separately.
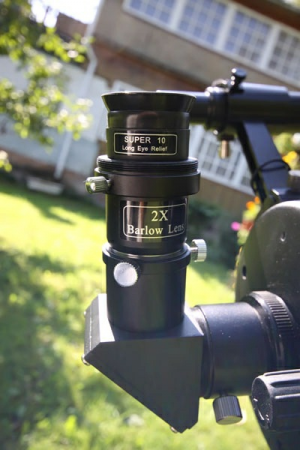
Using 10 mm eyepiece with 2x Barlow lens you can get the instrument to 300x magnification power:
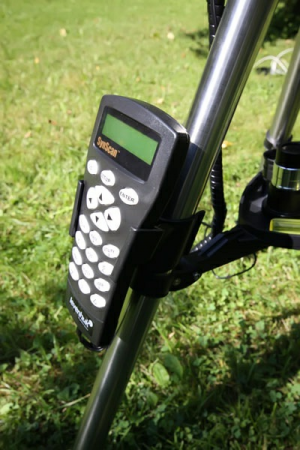
The Azimuthal mount with GoTo function is very easy to manage; it is equipped with a computerized SynScan AZ hand controller. The navigation process does not require any special skills - the mount will do all the work! The preprogrammed database stores coordinates of more than 42,000 celestial objects. It will also provide you with general information about planets, satellites, stars, nebulae and other objects. The telescope can be connected to a PC (the required cable is included in the kit), and you can operate the instrument using one of the common planetarium programs, such as Stellarium software, which, by the way, you can download for free.
When all accessories are attached, make sure to properly balance the telescope.
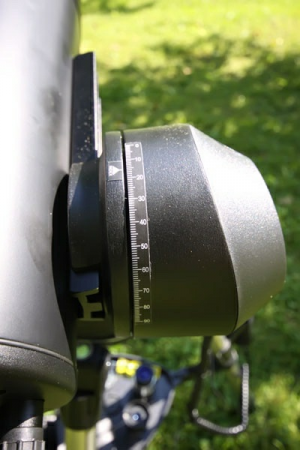
For more convenience when pointing the telescope to the zenith or horizon, the telescope's mount has a calibrating scale.
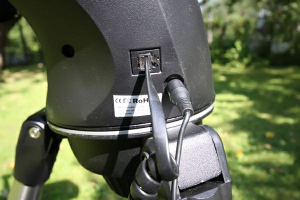
Power and control connectors are placed on the mount's body.
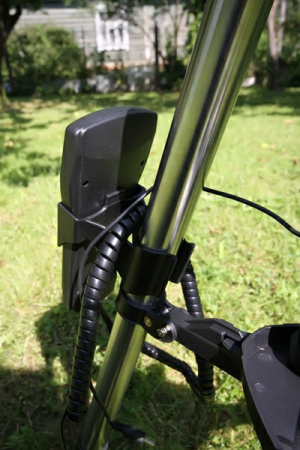
There is convenient base for the hand controller on one of the tripod's legs.
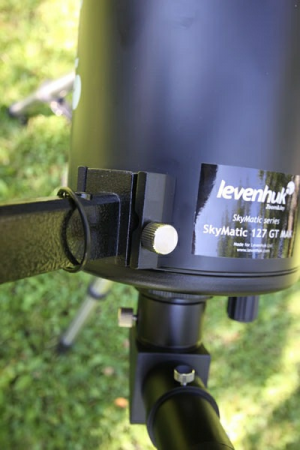
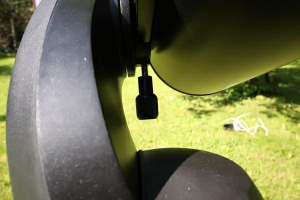
Once again I remind you that this telescope model has only one thumbscrew locking the tube to the mount, there are no backup screws, so always check that it's tightened securely.
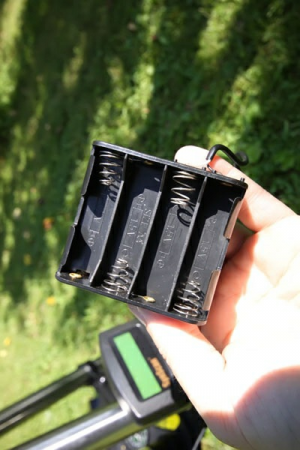
The mount is powered by standard AA batteries.
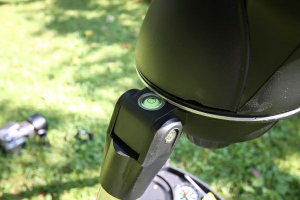
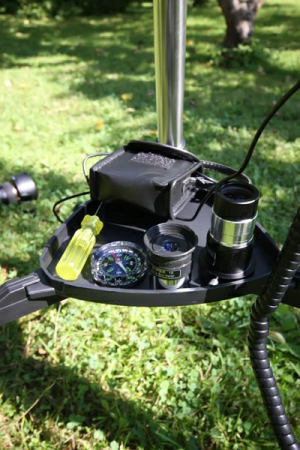
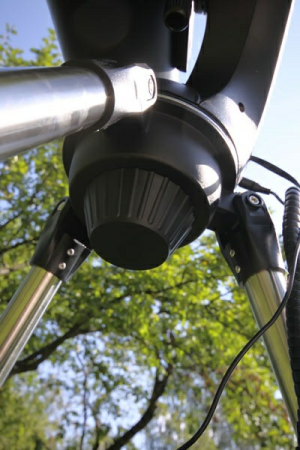
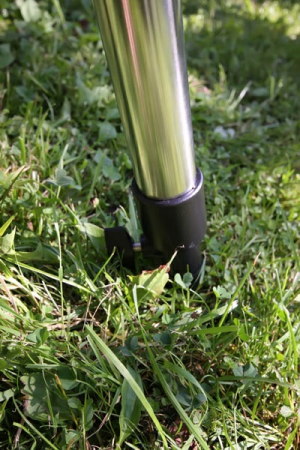
The tripod is equipped with a spirit level, which is located on one of the tripod’s legs. A plastic accessory tray contributes to the tripod’s stability.
The images show that the tripod is stable enough to place some compact tools on, or, for example, a camera.
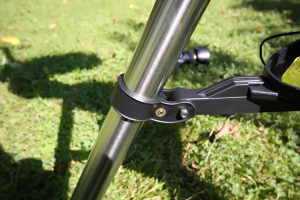
The tripod is adjustable to a comfortable height.
Any reproduction of the material for public publication in any information medium and in any format is prohibited. You can refer to this article with active link to levenhukb2b.com.
The manufacturer reserves the right to make changes to the pricing, product range and specifications or discontinue products without prior notice.

